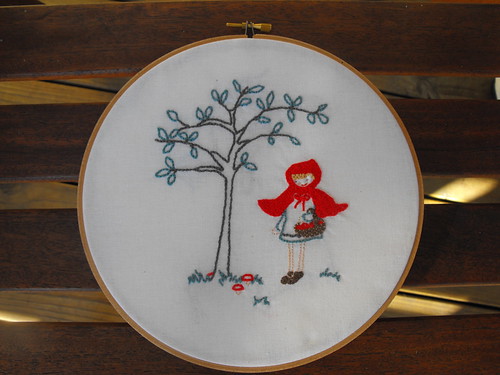
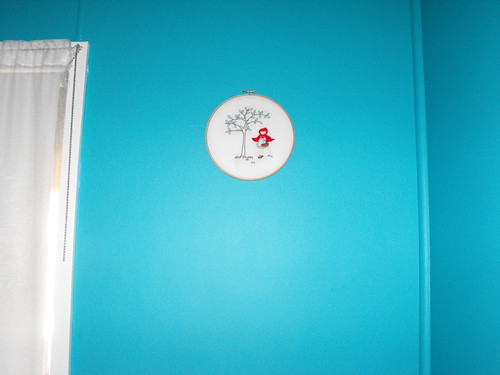
I'm not the greatest of hand-embroiderers, but I think I managed to pull this off. I would love it if anybody had some tips, especially with what you are actually supposed to do with all those ends at the back? If you look closely at my photo, you can see them from the front, although it is nowhere near as bad when it is hanging on the wall.
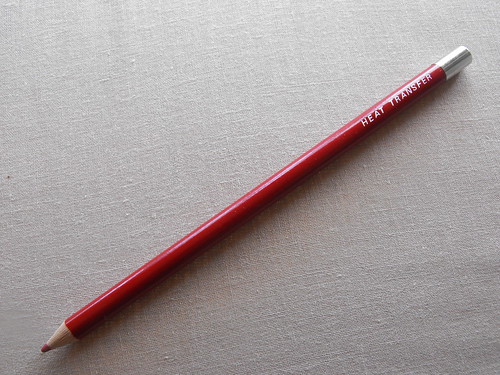
I have a great tip for you, though. I had some trouble, initially, with my transfer pencil. It just was not working. Do you want to know what the problem was? Don't use steam. The pencil comes out with water, so when I was steaming it, the design wasn't going onto my fabric. Or perhaps it was, and I was just steaming it right back out again. There you go. That is helpful information to have :) I wish I knew that before I started. So use a dry iron.
I used Aneela Hoey's embroidery pattern, which you can buy through links on her blog, or from the Fat Quarter Shop as a digital download. Aneela also has a great tutorial about how to fill using back stitch.

I used this tutorial to finish the back of the finished piece. I didn't take any photos, but lets just say that it doesn't quite look as good as the one in the tutorial. I think the important thing is that it looks good from the front, right?