Oh my goodness! Where has February gone? I promise, I haven't been sitting around, twiddling my thumbs. It has been a bit crazy here with Liam starting school, and Noah off to "big kinder". We have had short kinder sessions, school weeks split into two, days on, days off, teacher strikes, kinder meetings, school meetings, tests.... ugh! Hopefully things will start to settle down soon and I will find my routine.

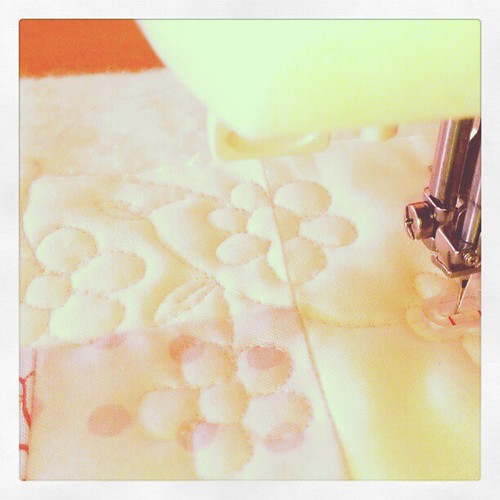
I have been working on Amélie's quilt, I finally decided on a nice all-over floral pattern for the quilting. It's just a basic 5-6 petalled flower (depends on how it is going, haha) with a leaf or a viney-tendril here and there to fill in the gaps and move between flowers. I was originally going to try to fit them into a pattern around the pinwheels, but then decided that random works better for me.
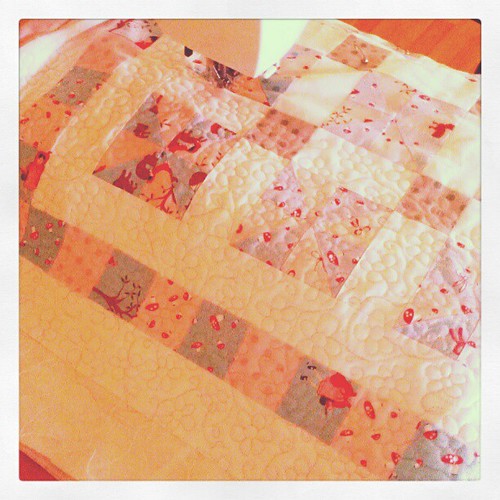
I am really pleased with how it is going. Someone asked me if I was having lessons, but apart from the workshop I did with Kellie Wulfsohn, I am mostly self-taught. You can pick up heaps from the internet, but I think the main thing is just to have a go and then practice-practice-practice! I always sketch out my ideas first, over and over, until I can naturally work out where to go. Then, I do a practice on a test sandwich. Sometimes, it may only be one or two repetitions of the pattern, just enough to feel confident enough to do it on the real thing. Then I just go for it.
It isn't perfect, some of the flowers are a little wonky, there are places where I think the vines are too prevelant, but I know that the more I quilt, the better I get and it all looks great from a distance.
Some tips:
- Draw it first - it helps to have a plan, even if you are working in a "random" pattern. Drawing is part of that plan
- Practice - make up a test sandwich, using two fat quarters with a layer of batting in between.
- Plan where you are going before you start - I aim for where I want the centre of the flower to be first and head there. It is a bit like chess sometimes, in that I also plan where the next flower is going to go, and maybe even the one after that.
- One step at a time - one petal, one leaf, one tendril at a time, stop, look around and decide what you are going to do next before you start stitching.
- Work out which direction works best for you - it might be clockwise, or anticlockwise, but if one way works better, plan around that.
I love Elizabeth Hartman's blog, Oh Fransson! for tutorials and tips. I also have her book, though most of the technical information is available on her blog.
(affiliate link)
I have also found this book to be a really good reference:
(affiliate link)


