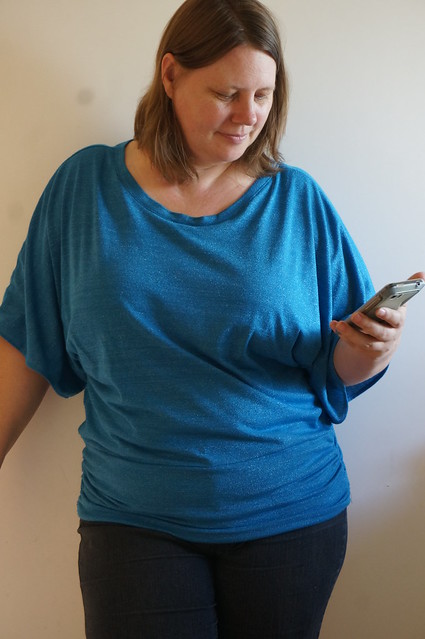
One of my little resolutions this year is to make at least one item for myself every month. My January "Made For Me" is this sparkly blue top. This fabric caught my eye when I was shopping at Spotlight before Christmas. Between it being on clearance, and having a special Spotlight save $40 voucher, the fabric for this top only cost about $5 or $6.
The fabric sat around for a while, waiting for the right pattern to come along. I knew I needed a knit pattern, but not a close fitting one. I really don't think that stretched out sparkles would be very flattering for me! One night, I was doing a bit of a search around and came across this pattern;
New Look 6648 and decided that it was "THE ONE".
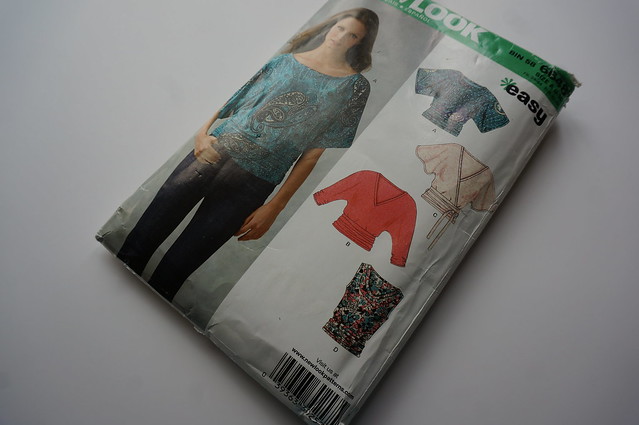
I kind of liked that it was down-loadable, but was concerned about some of the terms and conditions associated with downloading it, and asked some of my friends on facebook if they had ever purchased a digital New Look pattern. It turns out that no-one had, but one of my friends, Susan from
The Brissmiths had the paper-pattern that she hadn't used, so I bought it from her.
A common problem I have with fitting is my long torso. Generally, patterns really only get bigger from size to size in the horizontal direction and there is very little difference in the vertical direction. Many patterns have a shorten/lengthen line for those who have a shorter or longer than average torso. This pattern does not have such a line. Concerned about the opening of the sleeves, I didn't really want to add any extra to opening edge of the sleeves, so I added the extra length to the bottom part, below the sleeve. After wearing the top, it could just as easily been slashed higher up, through the sleeve area and would have been fine.
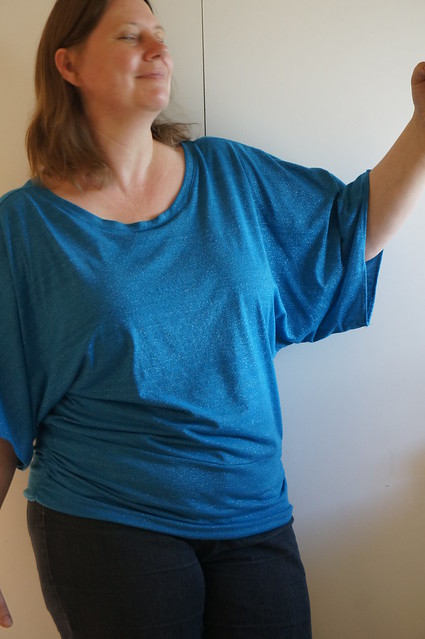
I also had another issue, and that is the chest measurement on the largest size was not quite big enough either. There is a lot of ease in the pattern, so it probably would have been okay, but I slashed and spread in the other direction too, outside of the neckline area, before the sleeves.
Upon researching other people's experiences, I found that a lot of people found the neckline a bit too wide. I brought mine in about an inch on each side. When I had it half-sewed together, I tried it on, and found the width of the adjusted neckline to be great, but decided that the boat-neckline style was not for me and scooped out the front a little. In the end, the whole length of the neckline was about the same, it was just narrower and scoopier. I ignored all the markings on the original pattern piece for the neck-binding and just quartered and pinned.
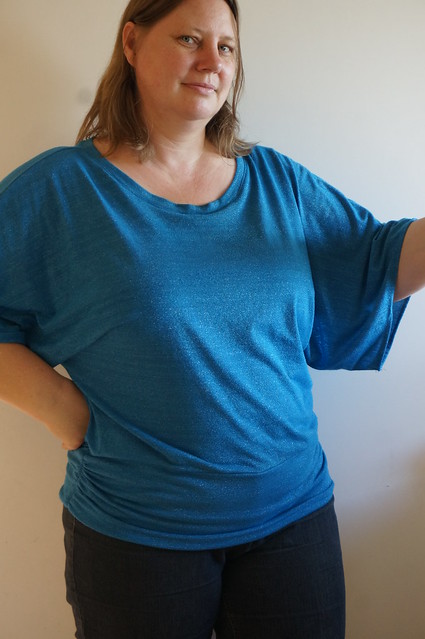
Something interesting I noticed with the pattern is the lower band. In the instructions (and on the pattern piece), I noticed that it indicated the grain going across ways, rather than up and down - so the greatest degree of stretch would have been in the vertical direction, rather than the usual, horizontal direction. I found this a bit odd. From my observations, many other people who had made this top had made it with stripes and it was clear that they had not followed the pattern instructions, so neither did I.
So in summary, I took my pattern, I slashed and spread it horizontally, and vertically. I cut my lower band against the grain indicated in the instructions, totally changed the neckline and voila, I have a top that I LOVE!!! It still does look like the picture on the front though :)