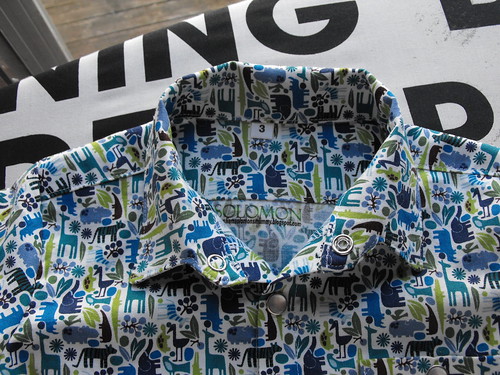
Sandwich the back between the two yoke pieces with the straight edges of the yoke seam together. You need to place the right side of the back together with the right side of the outer yoke piece, and the wrong side of the back piece facing the right side of the inner yoke piece.
I apologise for the lack of pictures at this stage, it was only after I had sewn this seam that I decided to do a tutorial.
Once you have sewn these together, you need to flip them all out and press it. Top-stitch close to the edge on the yoke side of the seam.
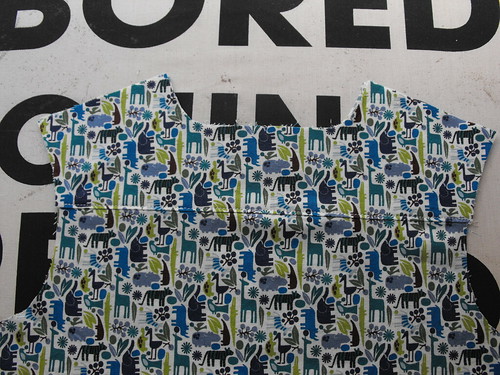
You can see the two yoke pieces here.
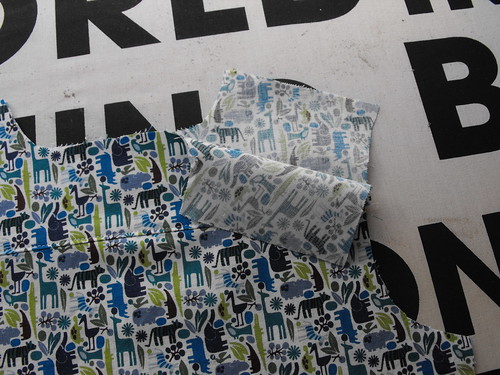
And this is the view from the wrong side.
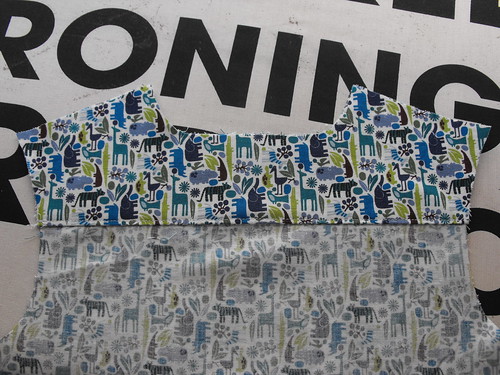
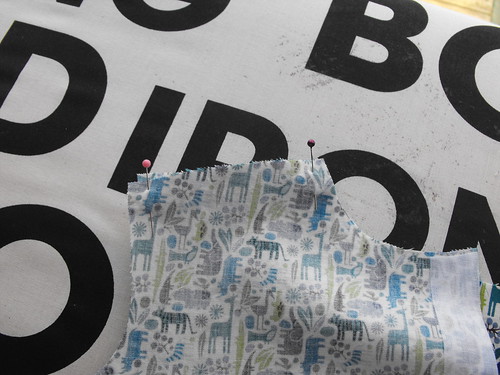
Take a front piece and place it right sides together with the outer yoke piece and line up the seam, as you would when sewing a regular shoulder seam. Pin just the front piece and the outer yoke together, leaving the inner yoke unpinned. I use just two pins here.
Roll up the front panel from the bottom towards the pins.
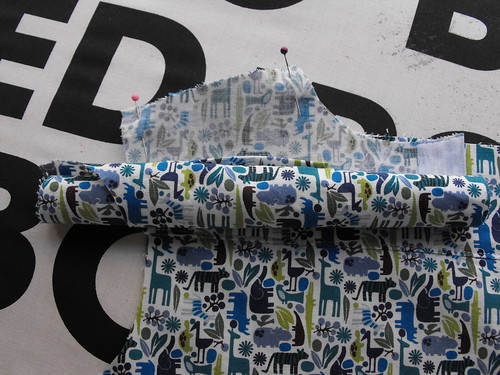
Now roll up the back as well.
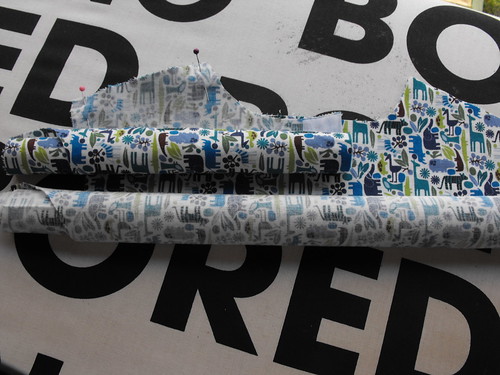
Take the inner yoke piece and flip it around the two rolled up pieces and bring it to the front of your pins. Un-pin the pins and re-pin to include the inner yoke piece. You might want to add a third pin at this stage, mid-way between the two existing pins. Or not - up to you.
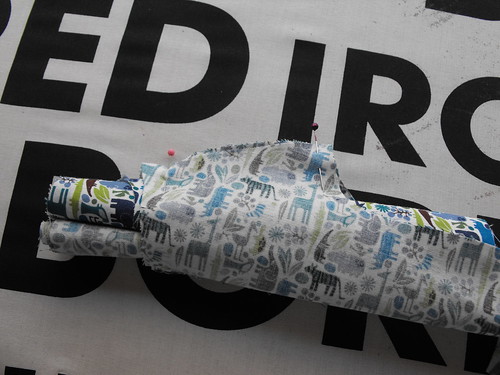
Stitch the shoulder seam, and then turn everything right side out.
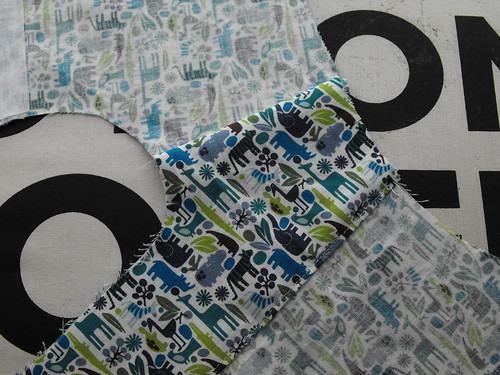
Give the seam a press.
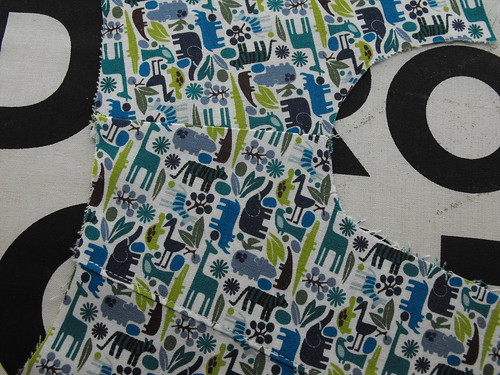
And top-stitch close to the seam on the yoke side of the seam.
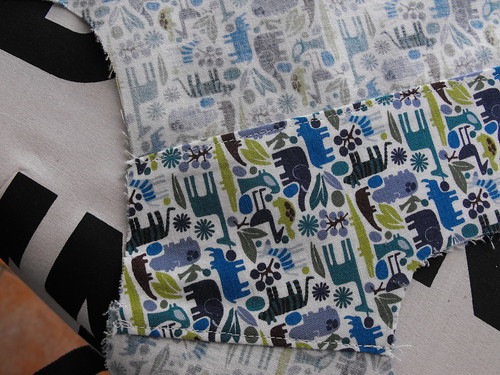
Repeat the process for the other side.
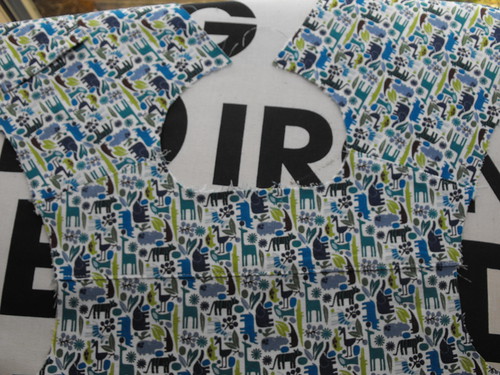
That's the yoke done, now onto the rest of the shirt.... but that's a whole 'nother tutorial.


Oh Cool! I definately want to try to make a shirt. You make it look so easy!
ReplyDeleteWow I would never have been able to explain things in such an easy to understand manner. Thank you so much for this info.
ReplyDelete