Sunday, 27 March 2011
The Apple Tree
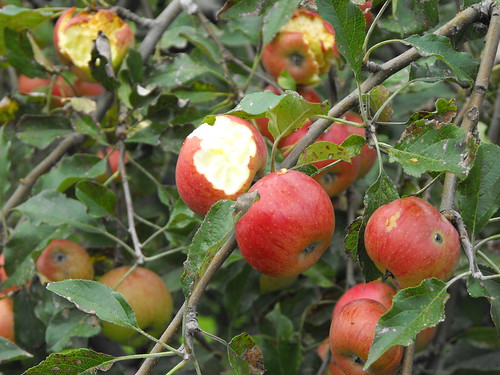
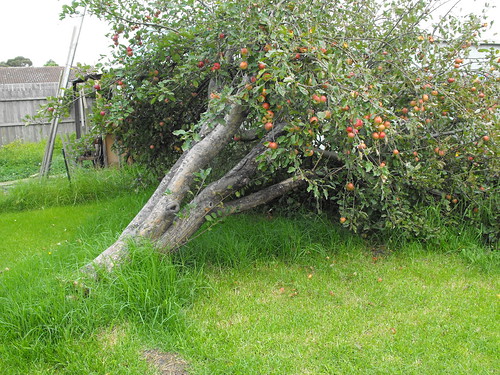
When we bought our house, just over two years ago, we were delighted to find it came with an apple tree.
Sadly, a couple of months ago, we had a small* flood and the tree fell over. The tree has to go eventually. According to everyone we have consulted, it can't be saved. It is still alive, however, and the apples weren't yet ripe, so we are letting it stay out the season**.
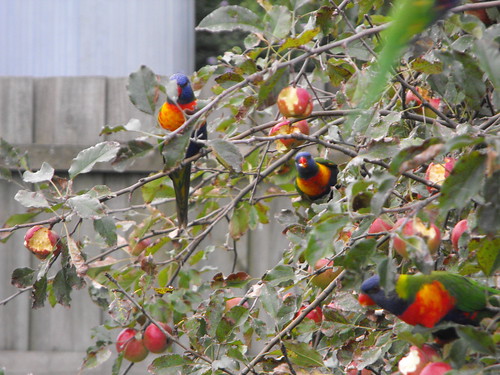
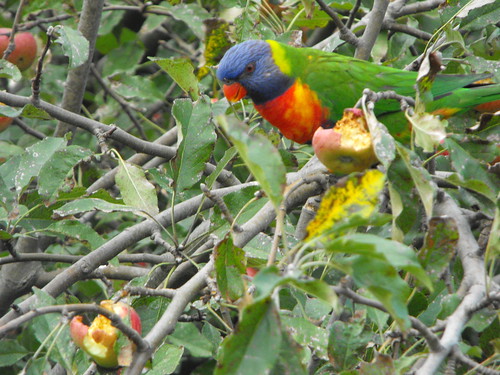
Of course, we have to share the apples with these guys...
....and that's my silver lining!
*we had a bigger flood last Tuesday, but that's another blog post entirely!
**actually, I think the chainsaw is broken, but why split hairs?
Friday, 25 March 2011
My Creative Space - the Boys Get Creative
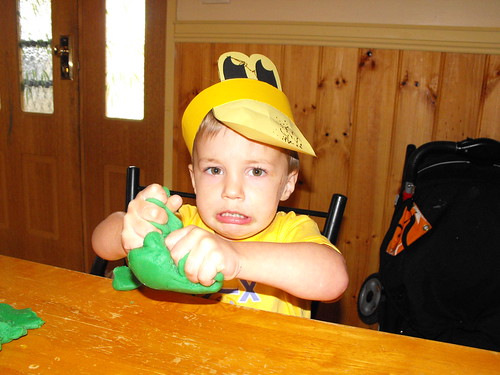
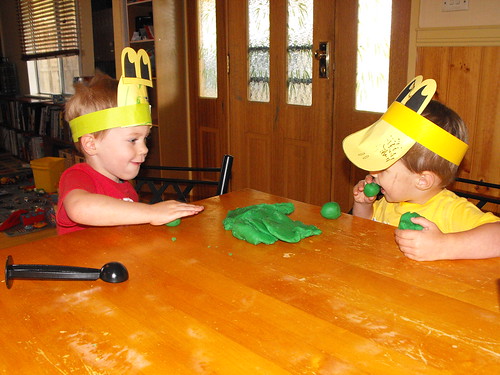
They say that play-dough is good for releasing tension and aggression. We haven't really played with play-dough much lately, because Noah tends to eat it. I did kinder duty last week, and took Noah and Amelie along with me. When I saw Noah playing with the play dough and not eating it, I decided to make some more for home. The recipe is on the side of the Cream of Tarter packet, or you can get the recipe here.
He still has a little trouble resisting...
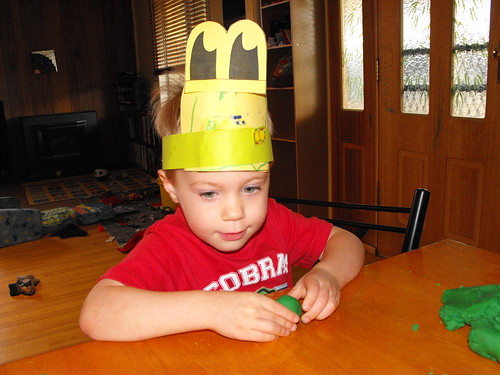
Ok, so I guess you're wondering about the hats? They are from this morning's story-time session at the library. The theme was ducks. After the story, the kids do a craft activity.
Liam did his all by himself. Inspired by Picasso!
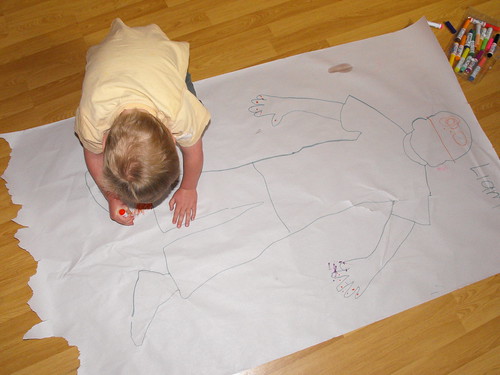
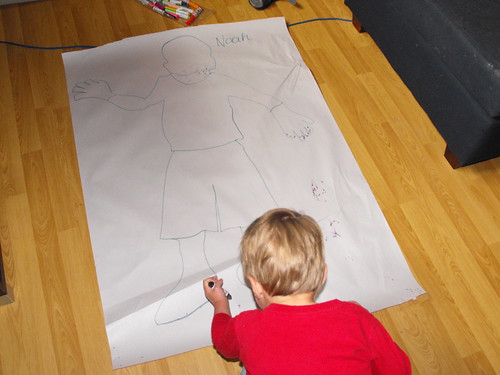
I also recently discovered that our local newspaper sells end-rolls of paper, so I grabbed a couple of those last week as well. Good fun for the kids, and also, if I need to draft a pattern...
To see more Creative Spaces, visit Kirsty at Kootoyoo.
Friday, 18 March 2011
My Creative Space - a dash of pink knitting
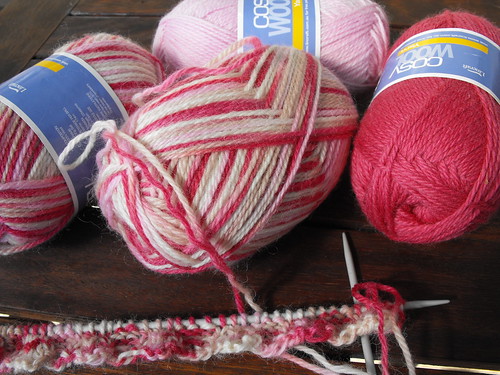
A couple of weeks ago, I had a lovely blogger friend come and visit me and meet my new baby, Amélie. We enjoyed some *Roast Pumpkin and Basil Fritatta for lunch and I was left with these lovely balls of wool to knit something for Amélie with. I'm trying out something with a bit of a fancy edge, but I'm not sure if it's going to work well with the variegated yarn - we'll see how it goes....
for more creative spaces, visit Kirsty.
*I may come back and post the recipe for that some time
Wednesday, 16 March 2011
Tutorial - Yoke with concealed seams
There is a bit of a trick to concealing the seams in a yoke - I will show you what I do. Please excuse my dirty ironing board cover - it says "IRONING BORED" by the way, ha-ha-ha!
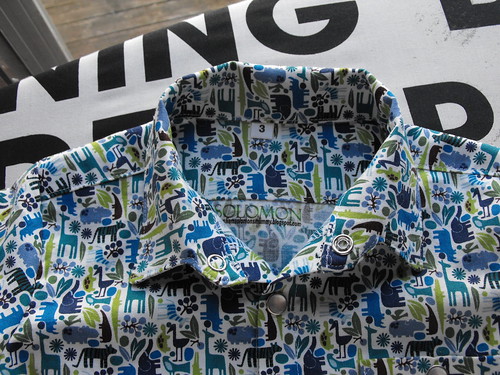
Sandwich the back between the two yoke pieces with the straight edges of the yoke seam together. You need to place the right side of the back together with the right side of the outer yoke piece, and the wrong side of the back piece facing the right side of the inner yoke piece.
I apologise for the lack of pictures at this stage, it was only after I had sewn this seam that I decided to do a tutorial.
Once you have sewn these together, you need to flip them all out and press it. Top-stitch close to the edge on the yoke side of the seam.
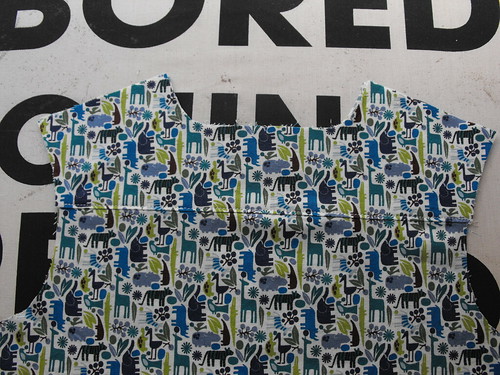
You can see the two yoke pieces here.
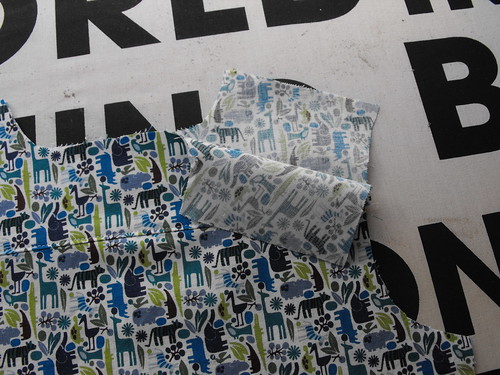
And this is the view from the wrong side.
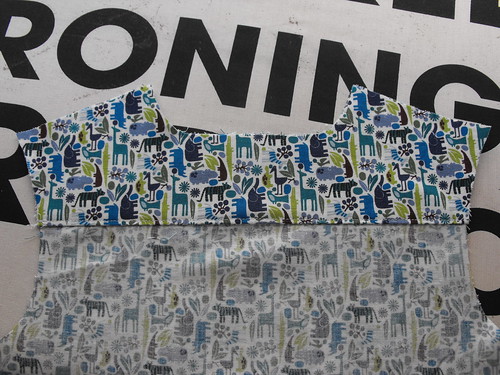
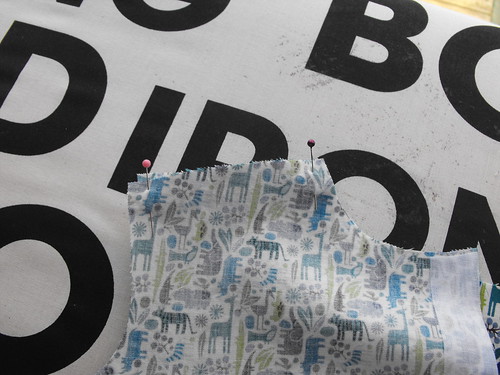
Take a front piece and place it right sides together with the outer yoke piece and line up the seam, as you would when sewing a regular shoulder seam. Pin just the front piece and the outer yoke together, leaving the inner yoke unpinned. I use just two pins here.
Roll up the front panel from the bottom towards the pins.
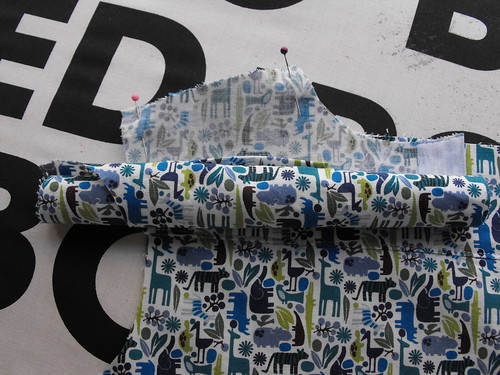
Now roll up the back as well.
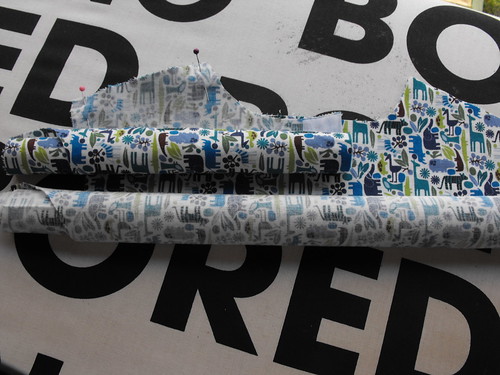
Take the inner yoke piece and flip it around the two rolled up pieces and bring it to the front of your pins. Un-pin the pins and re-pin to include the inner yoke piece. You might want to add a third pin at this stage, mid-way between the two existing pins. Or not - up to you.
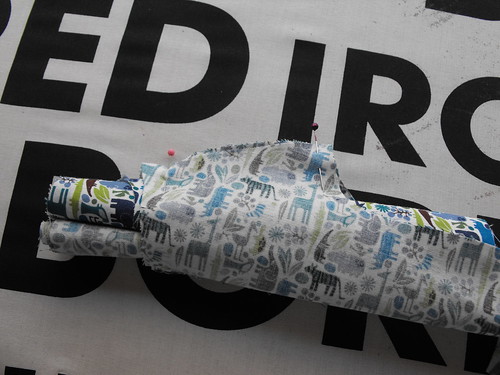
Stitch the shoulder seam, and then turn everything right side out.
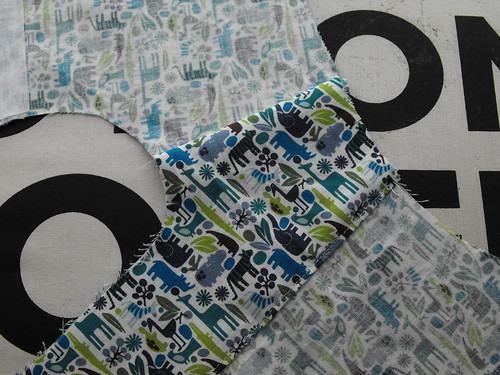
Give the seam a press.
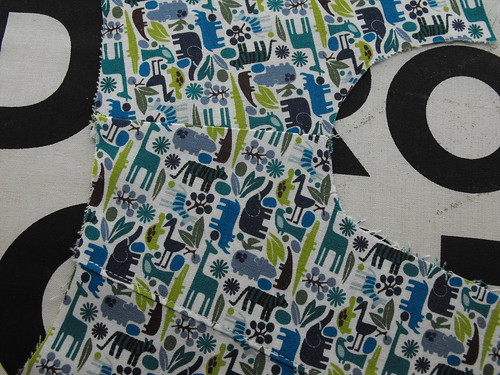
And top-stitch close to the seam on the yoke side of the seam.
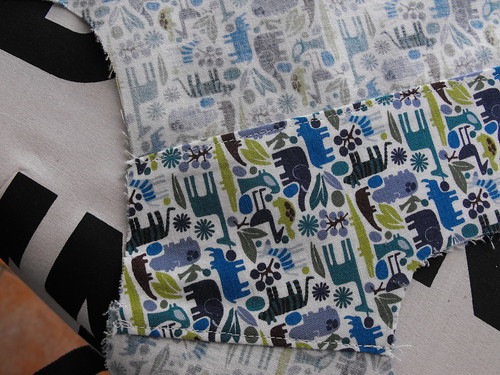
Repeat the process for the other side.
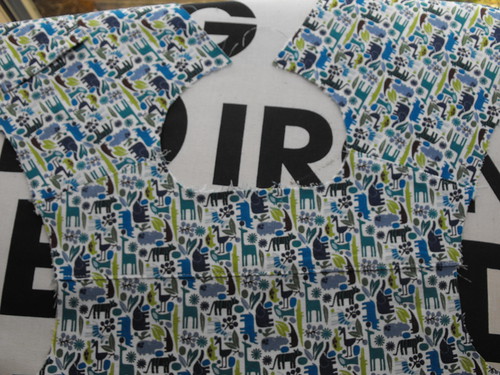
That's the yoke done, now onto the rest of the shirt.... but that's a whole 'nother tutorial.
Sunday, 13 March 2011
Still Sewing for the Boys
I bet you were expecting to come to my blog by now and see me sewing up a pile of pink florally things. Nuh-uh! I still haven't found my girl-niche....
So I thought that rather than sit around trying to be inspired, that I probably better just get on with it. So I grabbed this project out of my to-do pile, it was already cut out, ready to go.
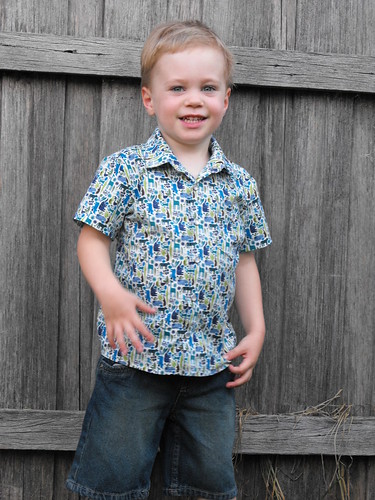
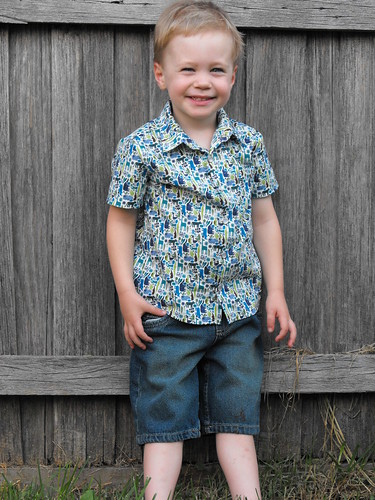
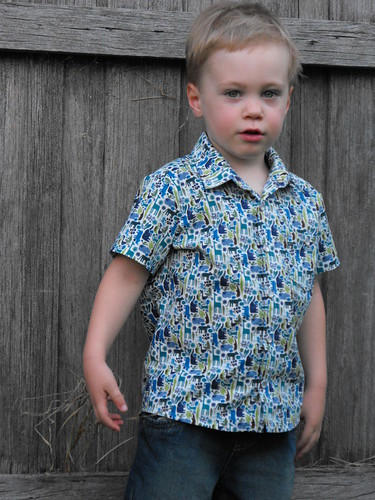
It's the "Apple" Summer Shirt from Ottobre 3/2010 again. This time I have made it in some "teeny tiny zoo" fabric, from Alexander Henry for Robert Kauffman. I like this fabric, but I think I prefer the Groove fabric that I made the other shirts in.
Tuesday, 1 March 2011
Finally Sewing Again!
It's been a bit crazy around here, and until the weekend just gone, I hadn't done any sewing since Amelie was born - except for repairing a pocket on one of Maxx's work-shirts.
So I replaced the broken zip on the kids' flip out sofa - since I couldn't get a 115cm zip, I used two 60cm ones and had them meet in the middle. It was a bit tricky. On the first go my zips didn't line up properly, so I had to unpick and sew them again.
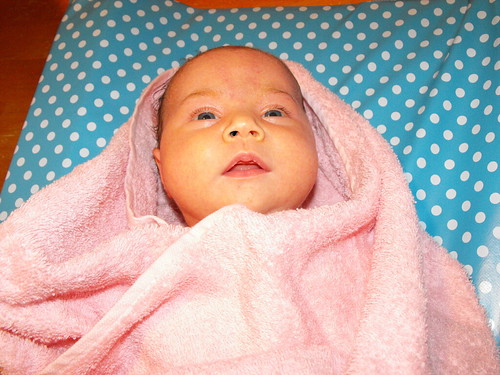
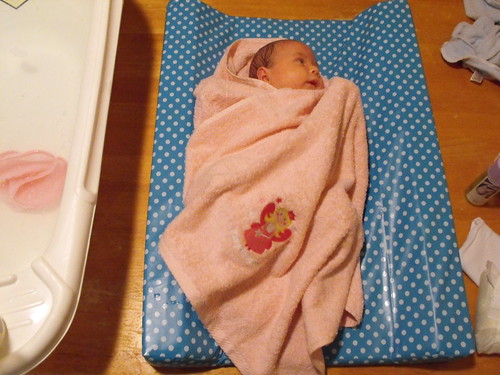
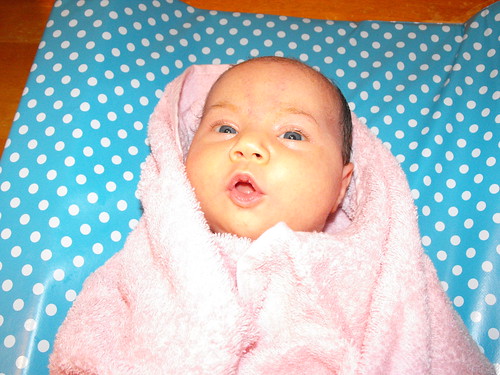
Once I finished that, I replaced the cover on the change mat. What do you think of my blue spotty change mat?
Subscribe to:
Posts (Atom)