
Today I am going to show you how to do embroidery without big knots all over the back of your work. It keeps the back looking almost as neat as the front and there is less chance of getting big tangles going on. I always thought that knotless embroidery was just where you didn't tie any knots in the back, so the ends were all loose (and very,very messy), until my friend Jodie explained it to me. For this tutorial, I am working in backstitch. You can see a tutorial on back stitch at The Purl Bee.
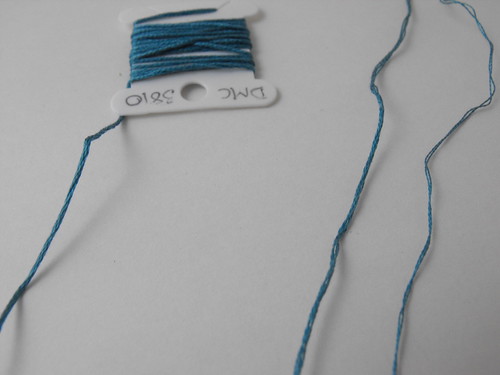
One of the down-sides with this technique is that you can only use an even number of strands of thread. Not to worry, for the leaves in my current project, it is recommended that you use three strands of thread. I chose to use four instead. Rules are meant to be broken and we don't really want our project to be a clone of the original. So I peeled off TWO strands of thread. TWO strands, because we are going to double it.

So now we have our two strands of thread, folded in half, with our cut ends together. You might expect that we thread the doubled end through the eye of the needle...

...but we don't. Instead, we thread the loose ends through the needle. You may need to wet them a little to get them to stay together.

So now we have our needle threaded, and we have the neat folded ends all down the bottom, and the loose scruffy bits at the top.
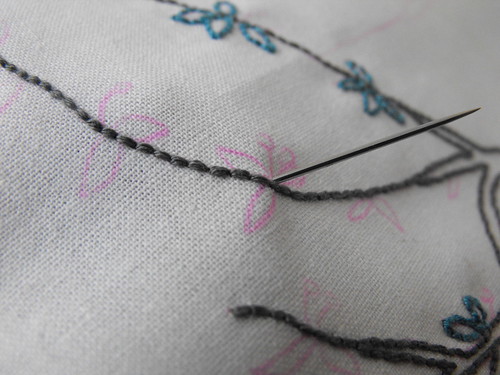
Take your needle, and from the wrong side, push it through where you want your embroidery to start. Leave a decent sized tail at the back of your work.
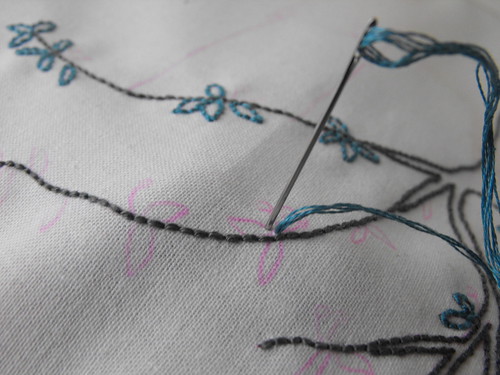
Form your first stitch, and take the needle back through from the front to the back.
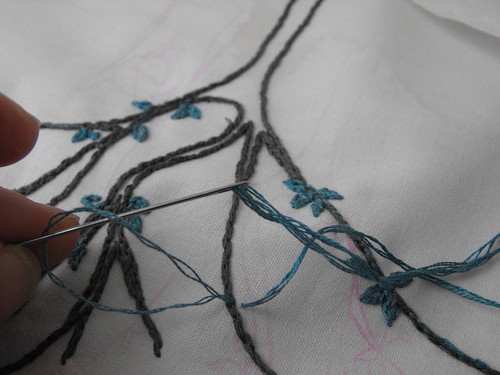
This is the back of my work, please ignore the pink markings, I had a couple of goes at doing my transfer and instead of washing the fabric or getting out a new piece, I just flipped it over and started again (but it's really neat, isn't it!). Now take your needle through the loop at the end of your thread.
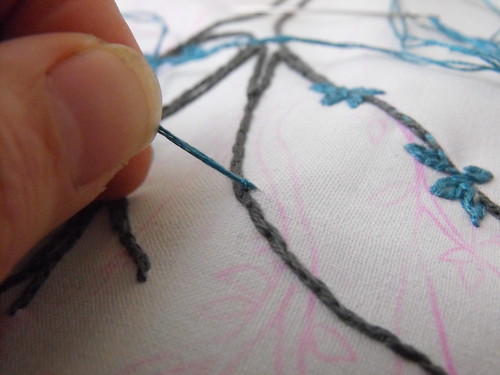
Before stitching back through to the right side.
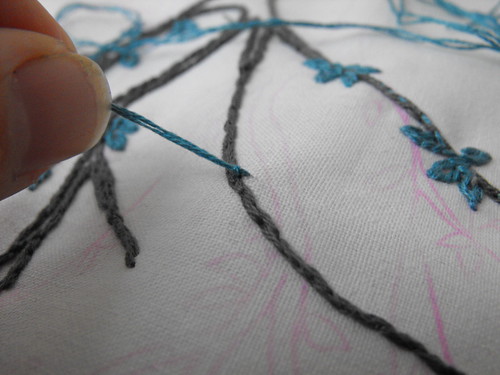
Pull your knot-less knot tight and continue with your stitching.
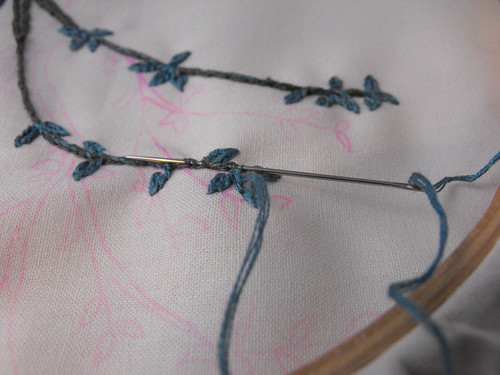
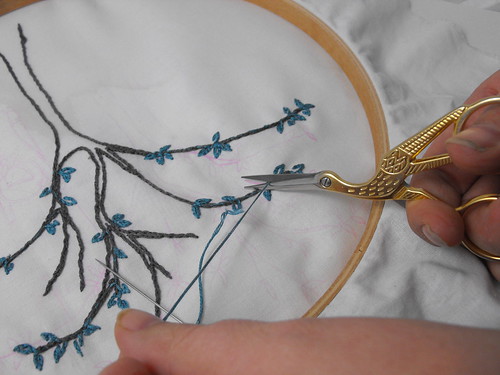
When you have finished your stitching, work the needle back along your stitching before snipping the ends. In this case, I just worked the ends into the branches of the tree.


Oh that's cool. I think that'll be handy while doing Miss-R's sequins.... thanks!
ReplyDeleteI love this technique, as someone who is mostly learning to embroider from the Internet a big thank you for sharing!
ReplyDeleteWhat a great little trick! Thanks Carmel.
ReplyDeleteThanks for sharing. I have always wanted to do some embroidery and have a few books but need to finish all my other projects before starting another lol
ReplyDelete