Usually, when I sew together items, using my overlocker, the end of a seam intersects with another seam, has it's end turned back (for a hem) or overlaps on itself, so I just chop the end of the thread off and let the overlapping stitching stop it from unraveling.
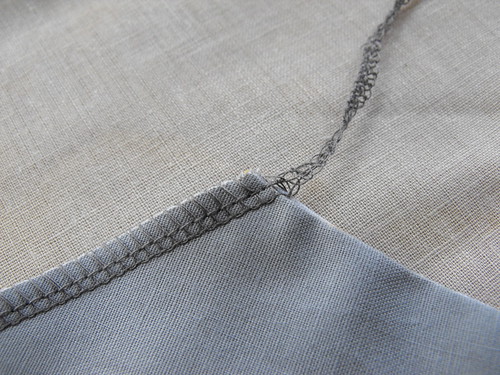
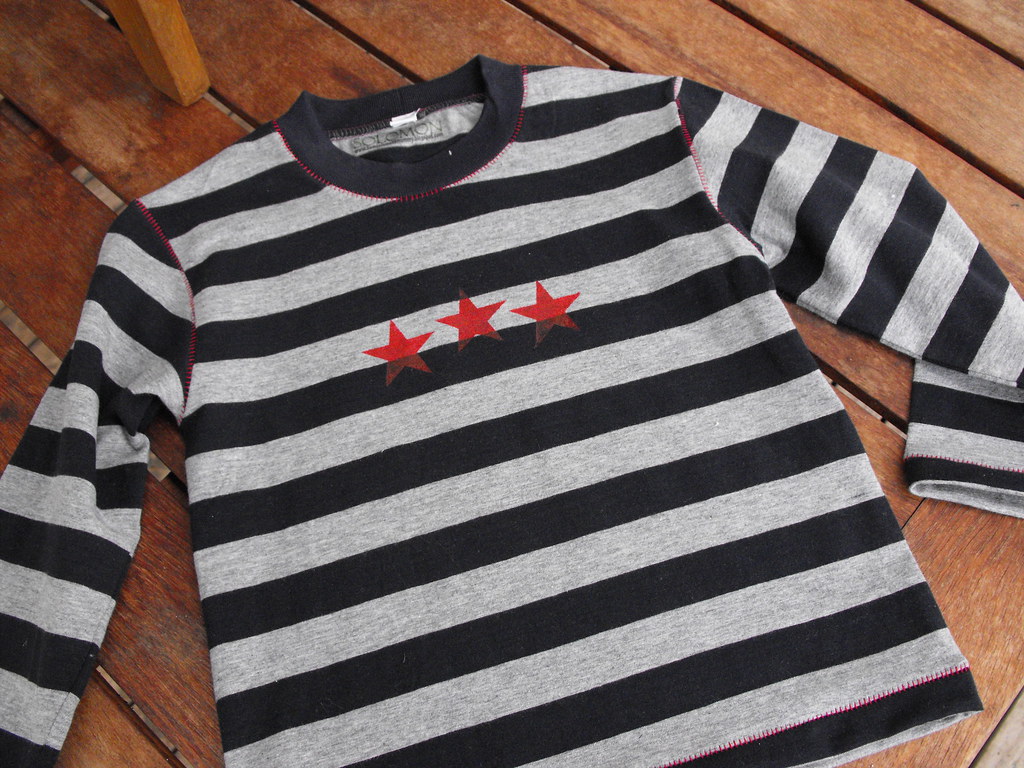
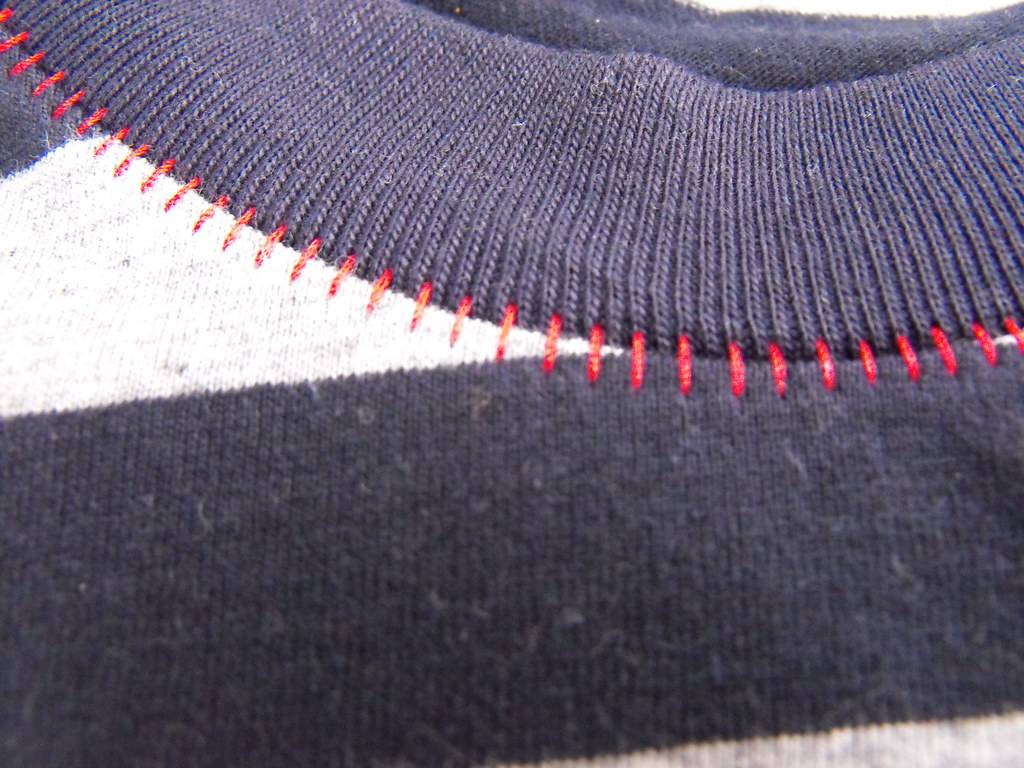
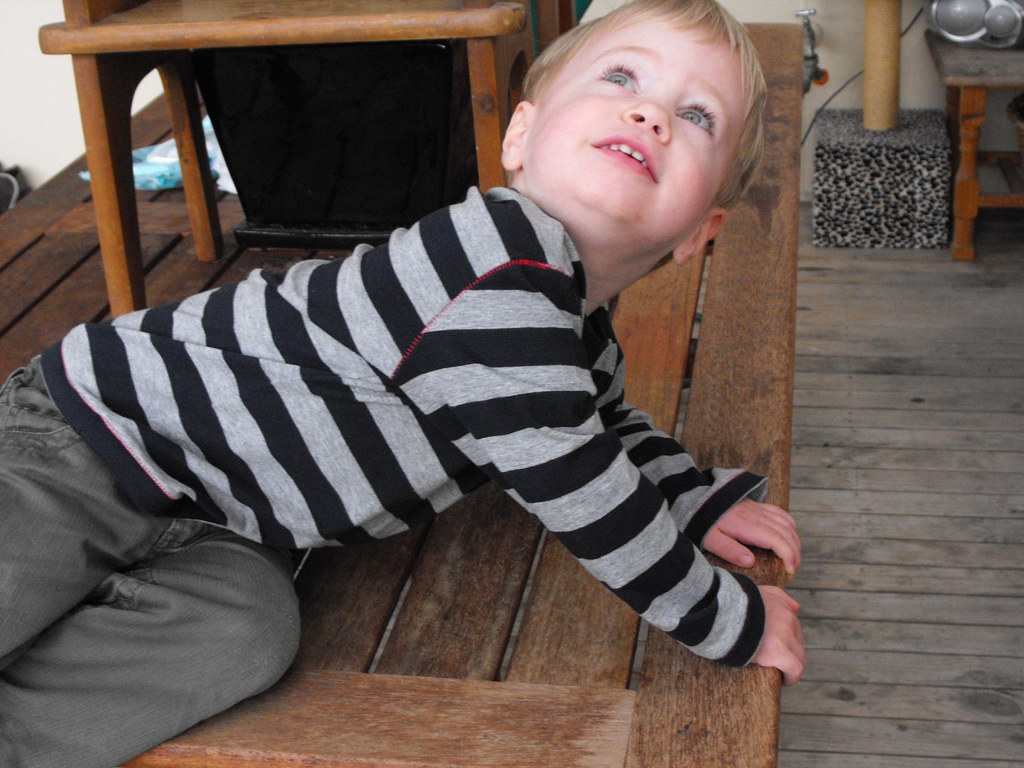
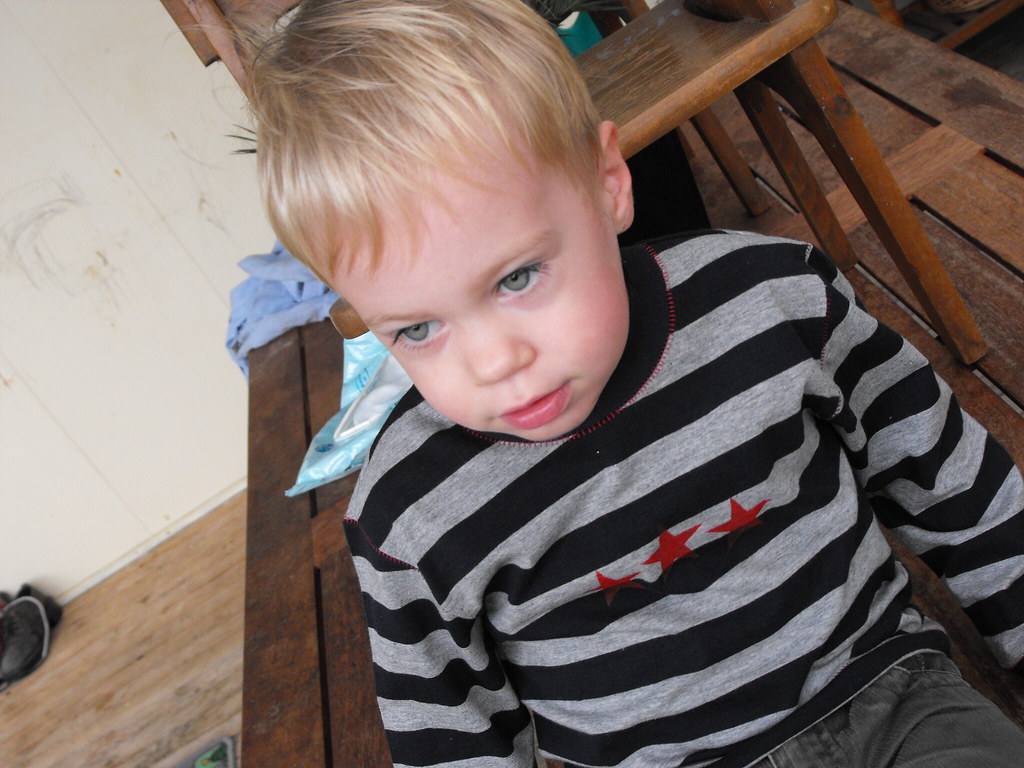
Sometimes, the over-locked seam runs all the way to the end (like in children's sleeves), so if you were to cut the end off, it would unravel. You also don't want unsightly overlocking ends hanging out of your child's sleeves. This is what I do....
Cut the thread with a bit of a tail, five to ten centimetres should be ample.
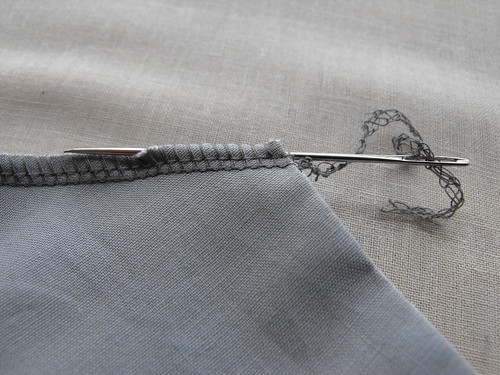
Grab a needle with a big eye, and preferably a bluntish point, and thread the loose thread onto the needle.
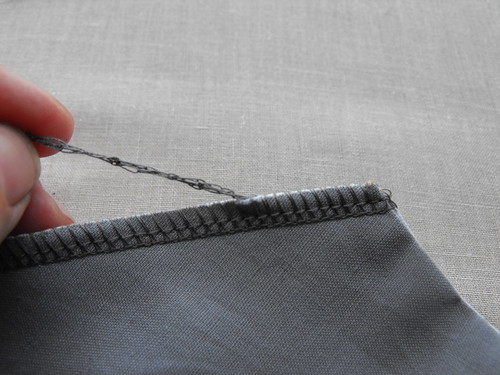
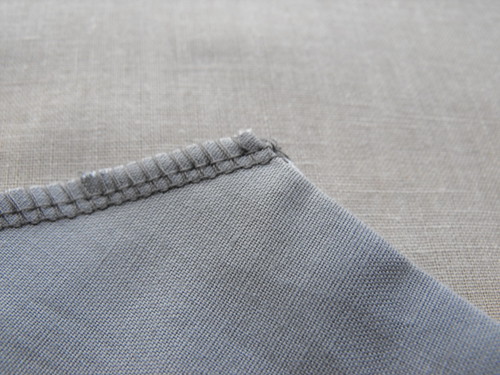
Use the needle to take the loose end of thread between the two layers of fabric and the overlocking stitch. Alternatively, you could just thread it back between the fabric and the stitching - you might do this if there is only one layer of fabric.
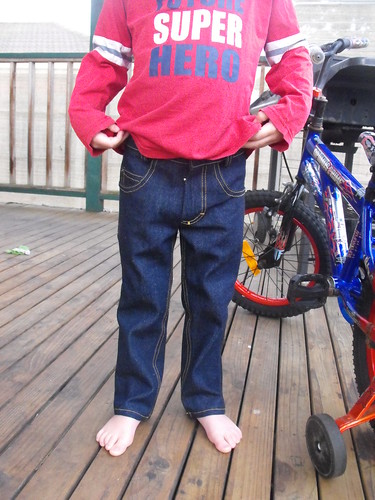
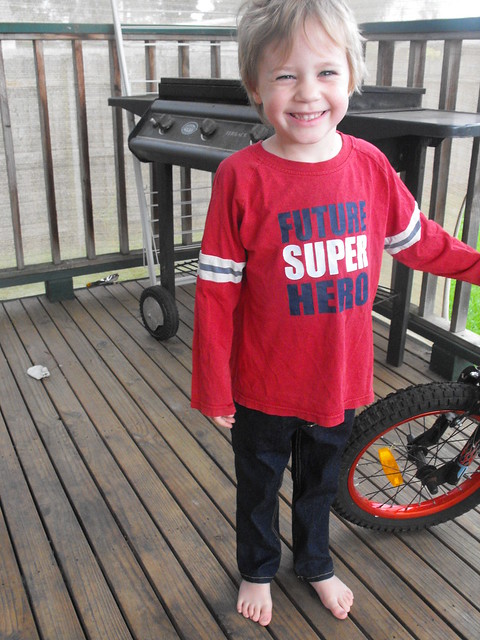
As part of KCWC , I finally moved these jeans from my UFO basket and completed them. They have been sitting in the basket for months waiting for me to sew them together.
The pattern is Paperback writer, or design 31 from the Winter 2010 issue of Ottobre magazine. I really like the name, the song was playing in my head whilst I was making these jeans.
These jeans are made for boys with long, very skinny legs. It is recommended for those that have a waist size 4cm smaller than the charts in the magazine, so if you've got a skinny-mini, then this pattern is for you.
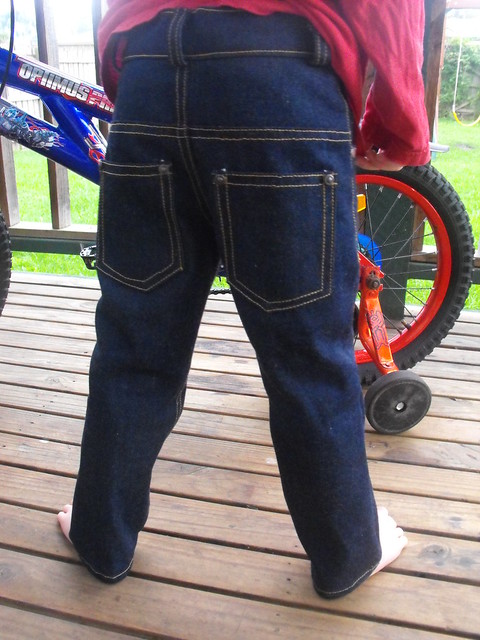
One thing I would do differently, is I wouldn't add a seam allowance to the curved edges of the front pockets pieces and facings. I did for this pair, but I've gone and chopped it off my pattern pieces because the pockets get in the way of the fly area.
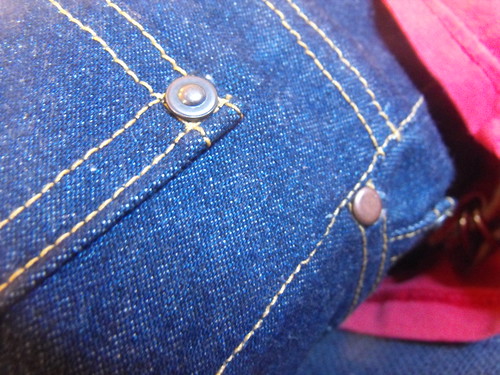
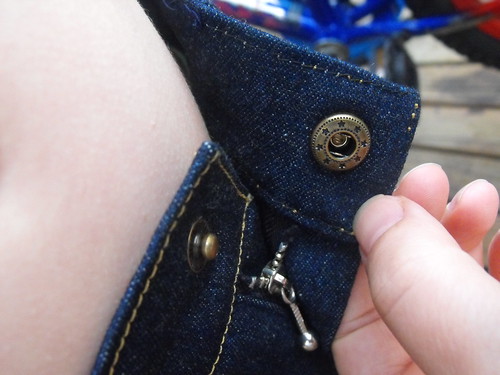
I've added rivets to the top corners of the back pockets and to the side-seam corner of the front pockets as well as to the top corners of the coin pocket. One of the rivets on the coin pocket is completely hidden, so was un-necessary. I would recommend that if you plan to add rivets to the jeans, they can all be added at the end, anyway, so that would be the way to go.
Another point with the rivets is that I have used two kinds, only because I started with one type, and then realised I didn't have enough. So the two rivets on the sides of the pockets are different to the other rivets. I prefer the look of the other rivets, and they also have skinnier post, which means I can push them through a smaller hole more easily.
I used three sewing machines to put these jeans together; my regular machine for the seams, my over-locker for neatening the edges and also the industrial machine for the top-stitching. You could make these jeans on one machine, but by using my industrial machine for the top-stitching, it saved me threading and rethreading my machine over and over. I used Gutermann upholstery thread, in colour 968. This is a 100% polyester thread and is quite a bit heavier than the regular, sew-all thread. A 100m reel is about the same size as a 250m spool of sew-all. Sadly, I have heard rumours that Gutermann are discontinuing the upholstery thread, so I will be on the look-out for a suitable replacement.
I think the most exciting part of making these jeans is that I got to try out my new jeans snaps and dyes for the snap press. I really need to be making lots more jeans to make the investment worthwhile, but don't they look fantastic?!
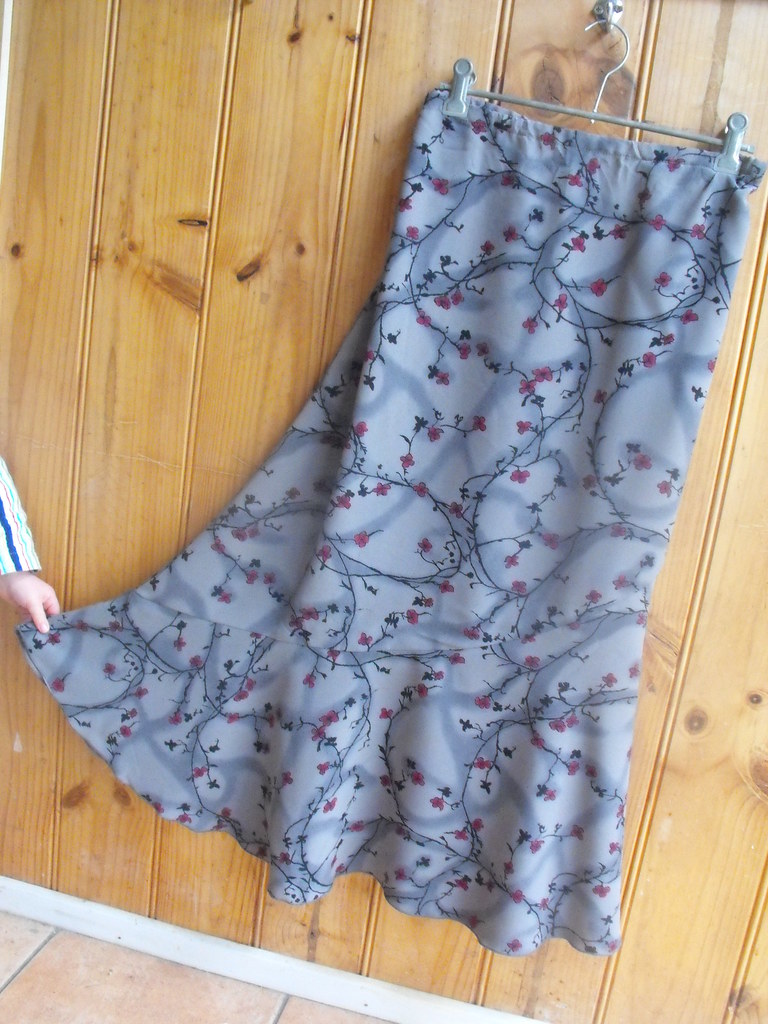
I recently needed a skirt in a hurry. Fortunately, I had one already cut out and ready to go since before Christmas, and all I had to do was sew it together. It really only took a couple of hours and this is the result. I finished it with a rolled hem, using my overlocker. The pattern is New Look 6470, I have also made a top from this pattern that I haven't gotten around to blogging yet...
I was just over at Finki's blog, and reading about a lovely course she did, and it reminded me that I have never blogged about the over-locking work-shop I did back in May with the Australian Sewing Guild. Our aim was to complete a bag in one day using our overlockers. This is the bag I made, and I did manage to complete it on the day!
I learned about fancy thread (something else to spend my money on, like I really needed that!) and now know lots of new ways to use my overlocker that I didn't know before.
My overlocker can't actually be used for piping, so I got to play with someone else's Babylock for that - ooh are they fancy! I will be sticking with my overlocker for now.* I can do piping quite well on my sewing machines, so there really is no need. The only thing I used a regular machine for was to stitch down the wavy trim on the left - the trim was made using the overlocker, but stitched down using a zig-zag stitch.
*although I have been drooling over one of these - I must have some kind of sewing-machine-obsession-type illness!