Showing posts with label Industrial Machine. Show all posts

Monday, 13 October 2014

Poor, Neglected Maxx

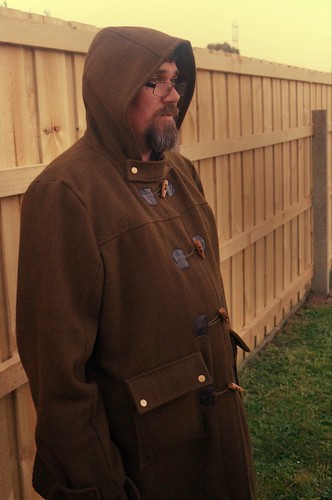
Albion Coat Profile

Maxx always seems to miss out. The truth is that men's clothes tend to require more time and more fabric in less exciting colours. The end result, though, is always worthwhile, and when I do make things for him, he really does appreciate it. If he wasn't into hats though, he wouldn't get much.

It took me ages to find fabric to make this Albion coat. I had the pattern in my hands for some time before I was able to find suitable fabric. Having said that, I can't say that it was particularly suitable. The fabric was from Spotlight, and I would suggest that unless you are planning to make a heavy, army style blanket, then maybe bypass it. Maxx assures me that the coat is comfortable, but it is very heavy. Almost 3kg. I can't say I was overly impressed with the range of wool fabric that Spotlight had, considering it was meant to be on sale. There was a total of 6 bolts there, three of which were light grey (two the same with sparkles, the other without), this olive coloured one, a dark green plaid and white. So olive it was, and lucky it's a colour he likes. I was happy to find a matching bemsilk to line it with. The pattern suggests flannel lining, but with fabric this heavy, it would be too much. Plus, bemsilk makes it easy to slip over other clothes.
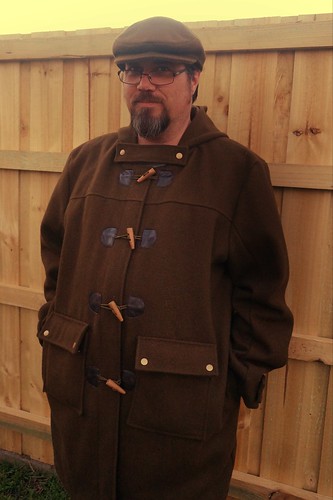
Albion Coat Front

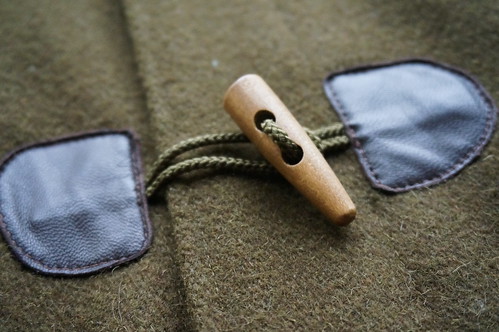
So, 3kg of coat is quite a bit to be lugging around the sewing machine, but I powered on. Since it was a birthday present, the coat was made mostly in secret, whilst Maxx was at work. I encountered some real difficulty when it came time to sew on the toggles. Large bulky coat needed to be able to be turned around under the harp of my machine, which was quite a squeeze. The weight of the coat threatened to drag my domestic sewing machine right off the table whilst I sewed, so it was hard yakka. There was much unpicking and swearing and in the end I got there, with the help of my trusty fabric glue pen, and my industrial sewing machine (with it's heavy table, and bigger harp) and they look fabulous! The toggles were made by hand, using leather scraps in just the right colour from my stash. I feel that the kits with the black toggle cover things would not have suited. I used a letter D from my big box of biscuit cutters as a template for the toggle covers. I managed to find some cord in just the right colour at Clegs in the city when I was there for Nikki's Book Launch, and the toggles themselves were from Spotlight.
DSC01720

I had originally intended to use buttons to attach the hood and sleeve tabs, but decided that it was unfair to expect my sewing machine to sew buttonholes into that bulky fabric and went with some brassy jeans snaps instead. I added some to the pocket flaps as well, for good measure. As well as being hardwearing, and looking fabulous, the jeans snaps were a much more affordable choice. Many of the buttons that I liked at Spotlight were $6 each. It would have cost me almost $50 for buttons (not including toggles). How ridiculous!
DSC01711

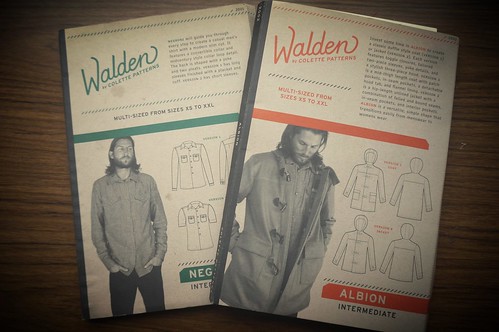
Apart from fabric woes, the pattern itself is pretty awesome. There are some great details, and whilst the pattern is quite extensive compared to the regular commercial patterns, there are even more great hints and tips on the sew-along. I also have the Walden Negroni pattern waiting for me to make Maxx a shirt (one day, I promise!) and I must say, they are the most attractively packaged patterns I have ever bought. I should also add that I am super impressed with my service from Sew Squirrel so far, my patterns have been posted to me super-quick. The Negroni pattern was ordered on a Saturday morning, was posted that afternoon and arrived Monday in rural Victoria!

Friday, 27 April 2012

Paperback Writer

DSCF1272

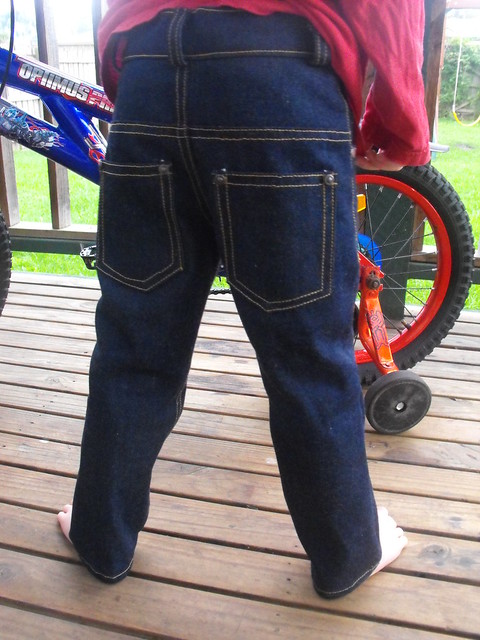
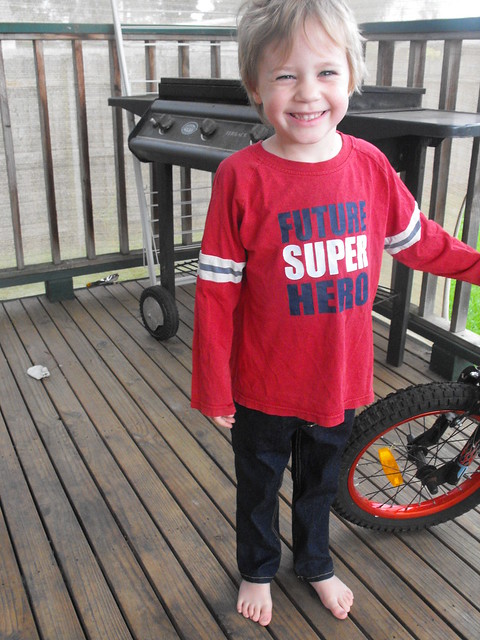
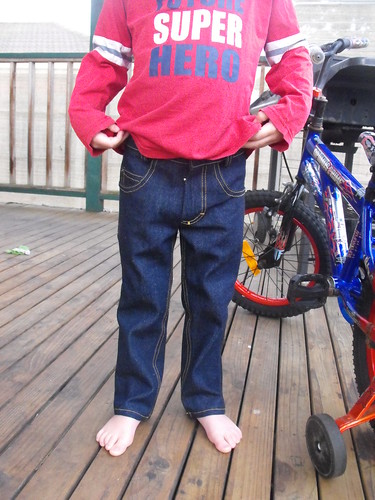
As part of KCWC , I finally moved these jeans from my UFO basket and completed them. They have been sitting in the basket for months waiting for me to sew them together.

DSCF1267

The pattern is Paperback writer, or design 31 from the Winter 2010 issue of Ottobre magazine. I really like the name, the song was playing in my head whilst I was making these jeans.


These jeans are made for boys with long, very skinny legs. It is recommended for those that have a waist size 4cm smaller than the charts in the magazine, so if you've got a skinny-mini, then this pattern is for you.

One thing I would do differently, is I wouldn't add a seam allowance to the curved edges of the front pockets pieces and facings. I did for this pair, but I've gone and chopped it off my pattern pieces because the pockets get in the way of the fly area.

DSCF1273

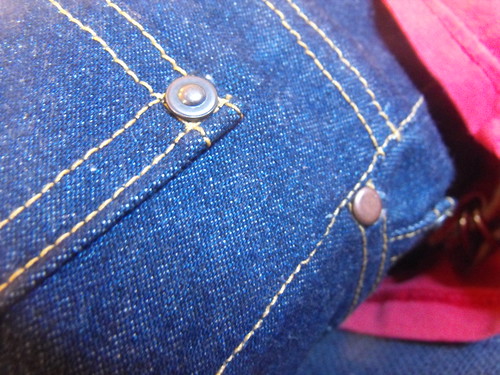
I've added rivets to the top corners of the back pockets and to the side-seam corner of the front pockets as well as to the top corners of the coin pocket. One of the rivets on the coin pocket is completely hidden, so was un-necessary. I would recommend that if you plan to add rivets to the jeans, they can all be added at the end, anyway, so that would be the way to go.

DSCF1264

Another point with the rivets is that I have used two kinds, only because I started with one type, and then realised I didn't have enough. So the two rivets on the sides of the pockets are different to the other rivets. I prefer the look of the other rivets, and they also have skinnier post, which means I can push them through a smaller hole more easily.

DSCF1282

I used three sewing machines to put these jeans together; my regular machine for the seams, my over-locker for neatening the edges and also the industrial machine for the top-stitching. You could make these jeans on one machine, but by using my industrial machine for the top-stitching, it saved me threading and rethreading my machine over and over. I used Gutermann upholstery thread, in colour 968. This is a 100% polyester thread and is quite a bit heavier than the regular, sew-all thread. A 100m reel is about the same size as a 250m spool of sew-all. Sadly, I have heard rumours that Gutermann are discontinuing the upholstery thread, so I will be on the look-out for a suitable replacement.

DSCF1274

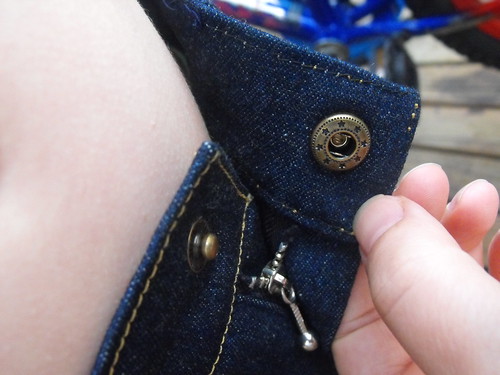
I think the most exciting part of making these jeans is that I got to try out my new jeans snaps and dyes for the snap press. I really need to be making lots more jeans to make the investment worthwhile, but don't they look fantastic?!

Sunday, 30 October 2011

Finally Made It! Hellooo Leather City!!!

DSCF1213

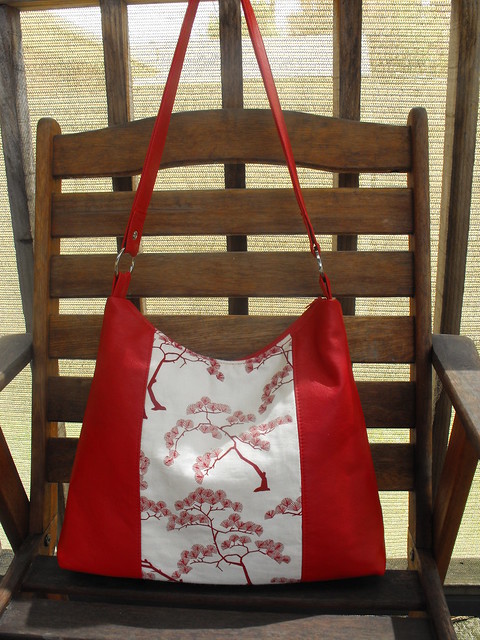
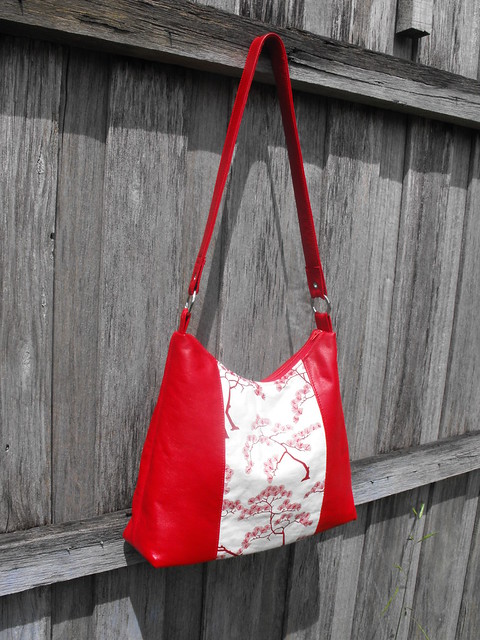
I finally finished my red leather City bag. There were lots of tense moments. Some skipped stitches, knots, a broken needle and I even managed to steam myself with the iron this morning. It was totally worth all the angst though, as I have achieved my goal to make this bag in leather.

DSCF1198

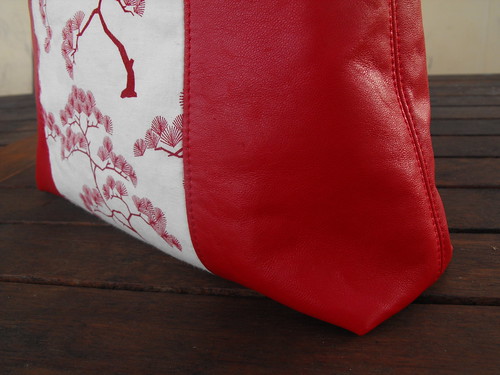
I decided that the side seams would look nicer with a bit of top-stitching, rather than just pressing them open. Every extra seam is a risk, especially top-stitching, as any seam that is un-picked will show as a row of tiny holes. I recommend that if you are top-stitching leather, that you ensure there is plenty of bobbin thread. I am glad I took the risk, as the finish is far superior to just pressing the seams open.

DSCF1216

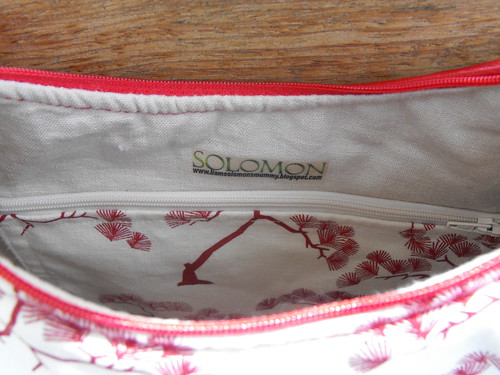
Inside the bag I included the zipped pocket from the pattern instructions. This time I matched my zipper with the lining and pocket fabric. I used some of the same Ink & Spindle Bonsai fabric for the pocket as I did for the feature panel.

DSCF1218

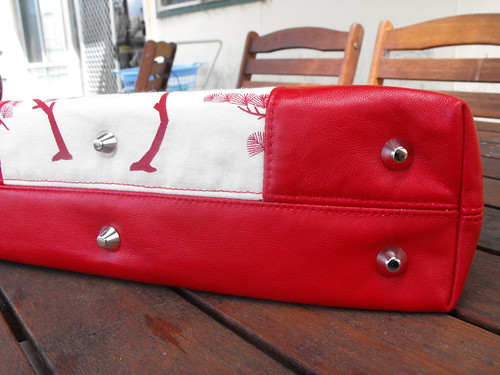
I forgot to take pictures of the purse feet that I put on the last City bag I made. The purse feet will keep the base of my bag from being scuffed. I didn't follow the instructions in the pattern for the base, because they don't include purse feet, instead using this tutorial instead.

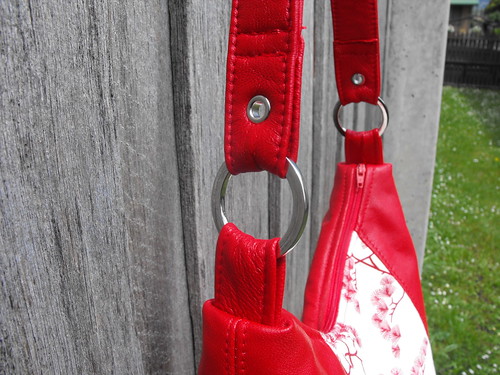
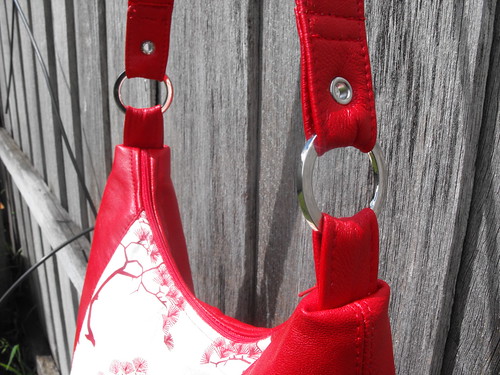
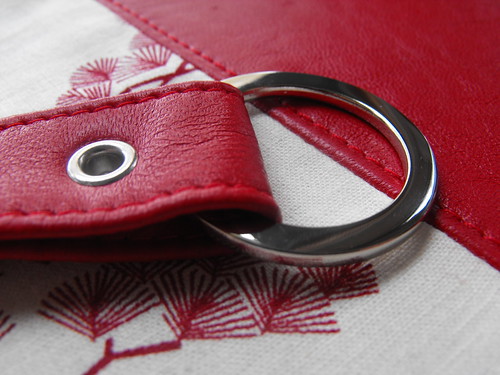
My straps were constructed differently to Nicole's instructions in the pattern as well. Being leather, I wanted to reduce a lot of the bulk at the ends where the rings were attached.

DSCF1209

I really didn't think that I was going to be able to sew the loops to the bag, because of all the bulk, but I managed to do it. I actually did this bit with the industrial machine turned off, and just turned the hand-wheel. It is normally quite difficult to turn, but I have found that if I push down on the pedal a little, this reduces most of the resistance, and the wheel turns easily. I also only have two hands, so when turning the hand-wheel with one hand, and holding my work with the other, that left me with no hands for the back-stitch lever. I got Noah to hold it for me. I would never get him to do that with the machine going, but he was quite pleased to be able to help me make a bag! I guess an alternative would have been to put a big book or a brick on the lever, but a brick wouldn't have been so proud to help.

DSCF1211

I was quite happy to find that I was able to line the zip up with the centre of the ring tabs much better this time around with the leather, even better than I did with the denim bag.

DSCF1207

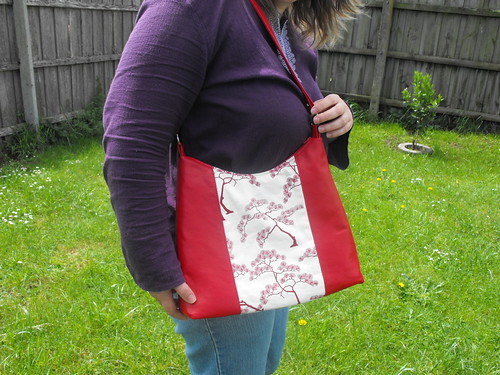
Here I am holding my newly completed City Bag, just to give an idea of size. There is still one thing missing, I need to put in an order to Nikki for some zipper pulls for both of my City bags.

DSCF1224

Saturday, 29 October 2011

Can't Stop

DSCF1198

I'm too busy to blog tonight.... top-stitching.

Thursday, 27 October 2011

My Creative Space - Getting closer to Leather City

DSCF1167

I'm working on my red leather City bag today. I've had some interesting stops along the way. I broke a needle. I've had trouble with skipped stitches. I ran out of bobbin thread, half-way along a seam.... but it's coming together, and I am mostly happy with it. I have a strap that I'm pretty pleased with and the Ink & Spindle fabric that I have chosen to compliment the leather seems to be working out to be a nice match.

I have discovered that leather and double-sided tape really work well together, however, I'm not sure my machine likes it very much. Since the skipped stitches occurred right after the broken needle, I don't think it was blunt or bent (the usual reason for skipped stitches). I noticed the needle was a bit gummy, cleaned it up and it's all good again so I'm guessing that was the cause.

What's happening in your Creative Space?

Tuesday, 25 October 2011

Zip Left, Zip Right

DSCF1062

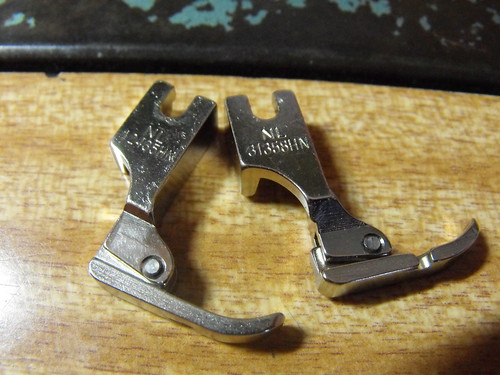
It is always best when sewing zippers, especially when top-stitching, that you sew in the same direction from each side. My industrial machine has a left foot and a right foot. My domestic machine has one foot that does both sides. From memory, the industrial feet cost me $6 each a couple of years ago from here. The invisible zipper foot for my regular domestic machine cost around $20. Still totally worthwhile.

Tuesday, 18 October 2011

Wren City

DSCF1081

This is what I have been working on over the past few days. The pattern is Nicole Mallalieu's City Bag, and I used some of my precious "Wrens" Fabric by Tegan Rose for Ink & Spindle. I've teamed the Wrens fabric with some denim that was in the same dark inky colour.

DSCF1082

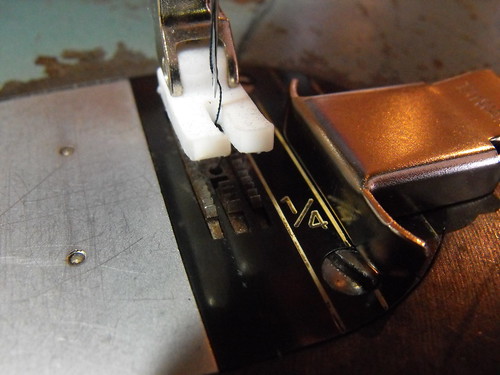
This is the first proper bag I have made on the industrial machine. I am actually surprised with how easily it came together. I guess all the practice with the machine has actually paid off. The magnetic seam guide helped a little, too!

DSCF1083

I even managed to insert a zipper on a curved seam, and an internal zipped pocket with no dramas!

DSCF1077

The bag wouldn't be complete without a bit of bling, and I was really undecided whether to go with my usual choice of silver, or if I should go with the brassy rings and feet to go with the natural tones of the Ink & Spindle fabric. I'm glad I chose silver, it's so shiny!

DSCF1079

I have spoiled myself with an internal zippered pocket, using more of Tegan's Wren fabric. It's so beautiful, and only I will see it in there, but the bag is for me, so why not?

DSCF1080

The next bag I plan to make is leather.... wish me luck!

Sunday, 16 October 2011

Sharing the Gadget Love - Magnetic Seam Guide

DSCF1060

I wouldn't be game to use a magnetic seam guide on my electronic Janome machine, but so useful on the industrial machine...

Sunday, 28 August 2011

Little Red Riding Hood Shoes

DSCF1601

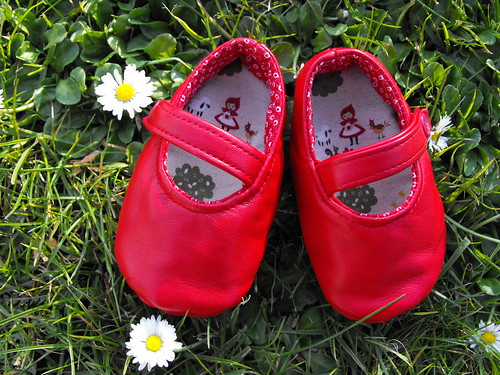
Ok, so I said that I was working up to something. I did it! I made Mary-Janes from some pretty red leather. It was so much fun! I used my industrial machine and I managed to not sew any of my fingers to the shoes! It is the first time I have sewed anything with leather.

They are far from perfect. My top-stitching is a bit crooked, but I am pretty happy with them for a first effort. With leather you can't un-pick (it leaves tiny, ugly holes), so you only get one shot. I can't be my usual pedantic self and un-pick and re-stitch until I am happy. Also, leather is kind of slick. It glides under the presser foot like nothing I have sewn before.

I don't think I can stop at just one pair.

Tuesday, 9 March 2010

Changing the Oil


When I got my industrial machine, it was in desperate need of some love and attention.

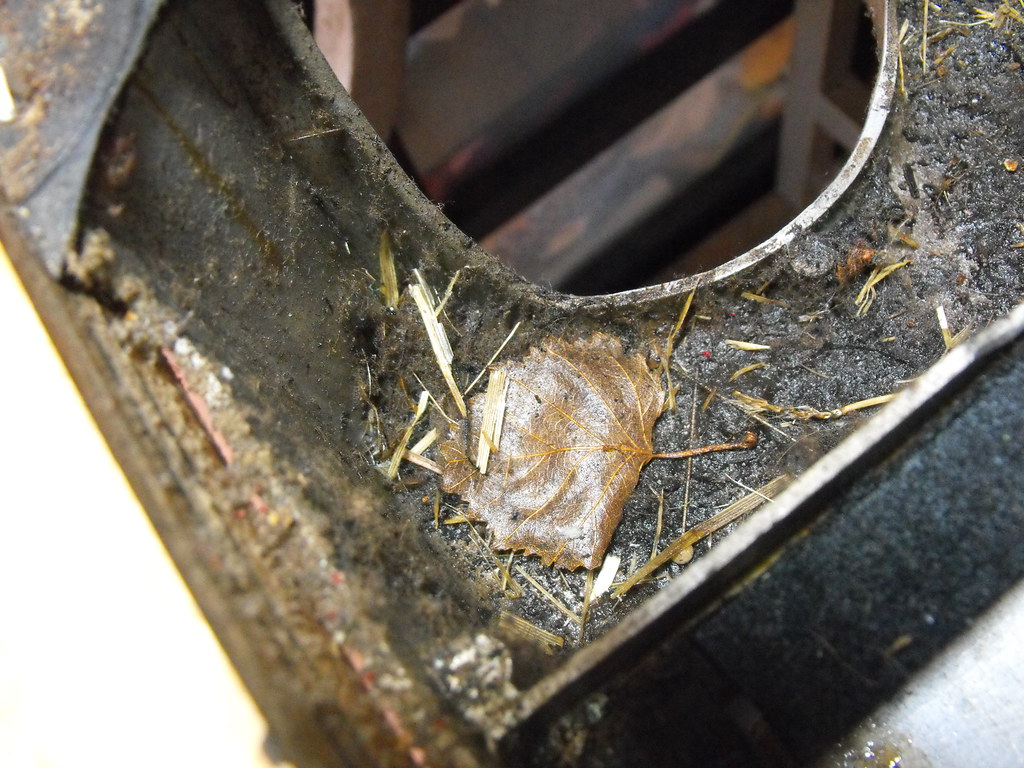
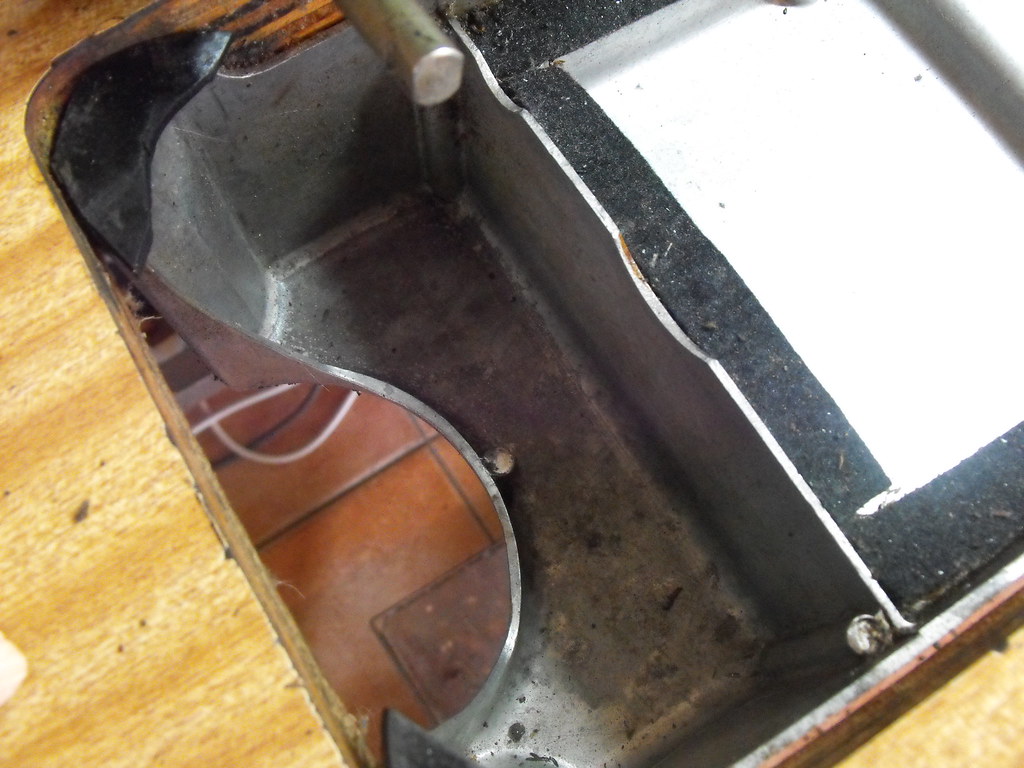
It spent some time sitting on someone's veranda. It then lived at my parent's house for a number of years. I was a little concerned about the oil and talked to a couple of people about changing the oil. The common response was to just top it up, and yes, it was low, but it was also very, very dirty. It had leaves, broken needles, buttons and pins in there and once I started cleaning it out, I also discovered dead earwigs and beetles. Eww! So change the oil it was!

I managed to get myself some oil from Marks Mega Store on EBay, and when it arrived on Friday morning I got started.

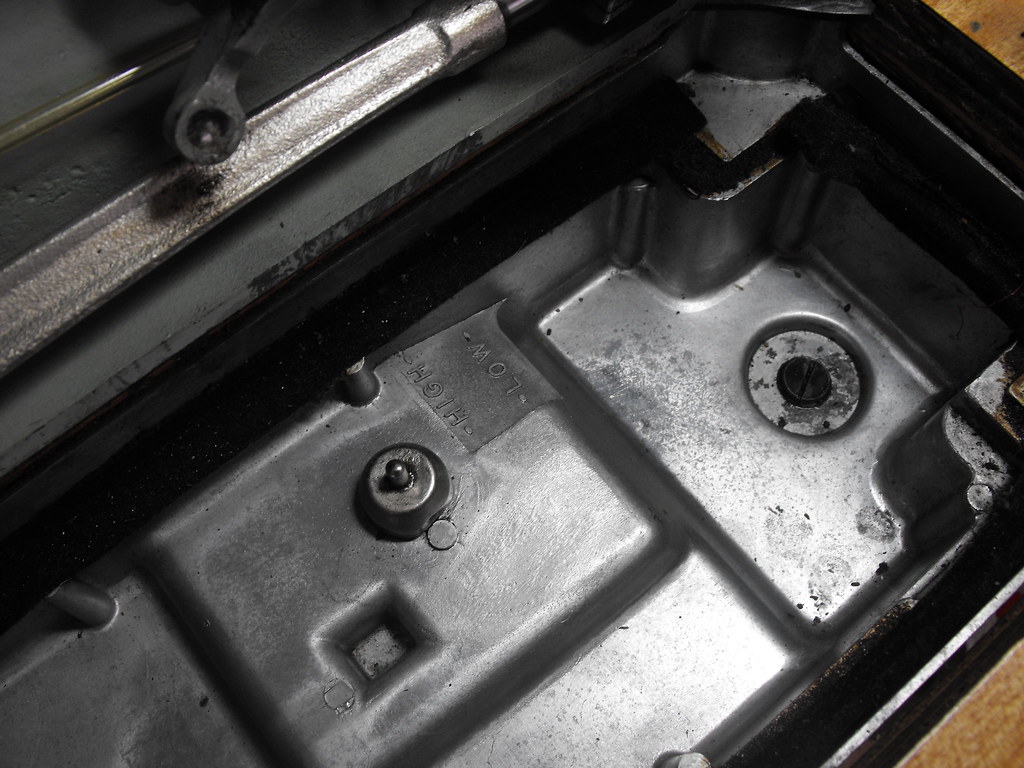
First, I drained the oil, and then I gave it a good wipe out with a rag. I then filled it back up to just under the high level mark with nice clean oil. It took about 6-700mls of the 1L bottle that I bought.

Now it is all clean, I feel more comfortable using the machine!

Sunday, 22 November 2009

My Latest Addition!

There's been a new addition to the family. In the way of an industrial sewing machine. Can anyone tell me what an acceptable number of sewing machines in one household is?

Currently there is a domestic sewing machine, an overlocker, an embroidery machine and now an industrial straight stitch machine all living in my sewing room. (There is also an additional machine in the shed, but we won't talk about that one...).

I think I'm becoming one of those people. You know, for some its cats, for others its.... well, sewing machines! Don't worry, it's all perfectly justified. They all have their uses (except for the one in the shed, but we aren't talking about that one, remember?)

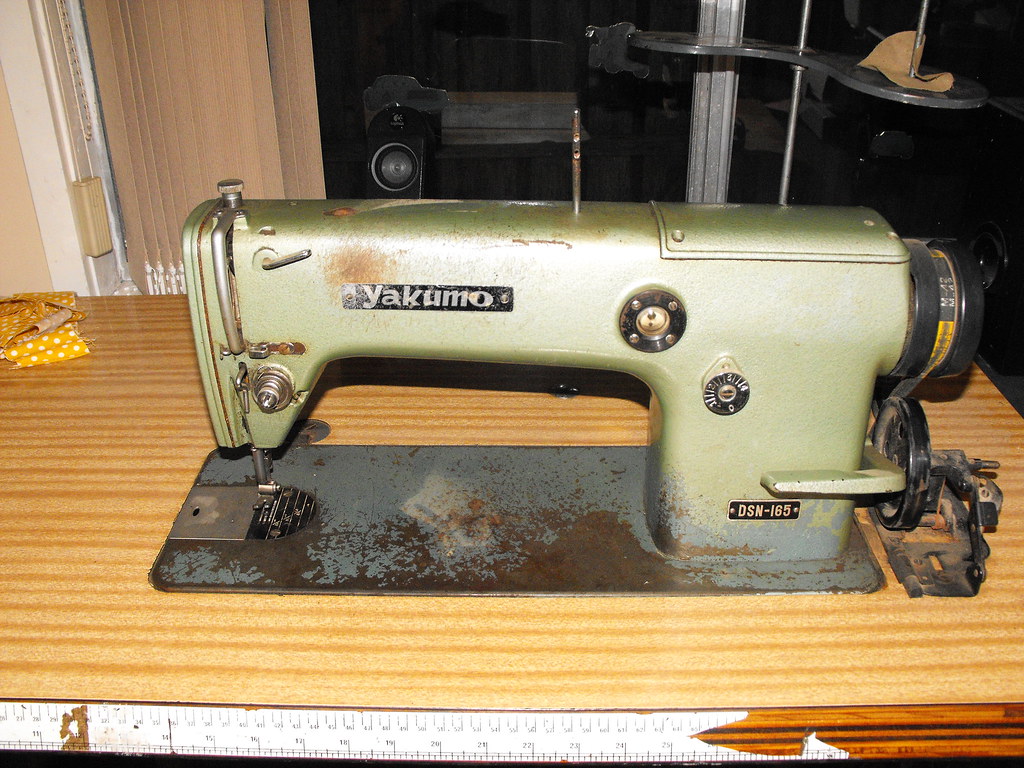
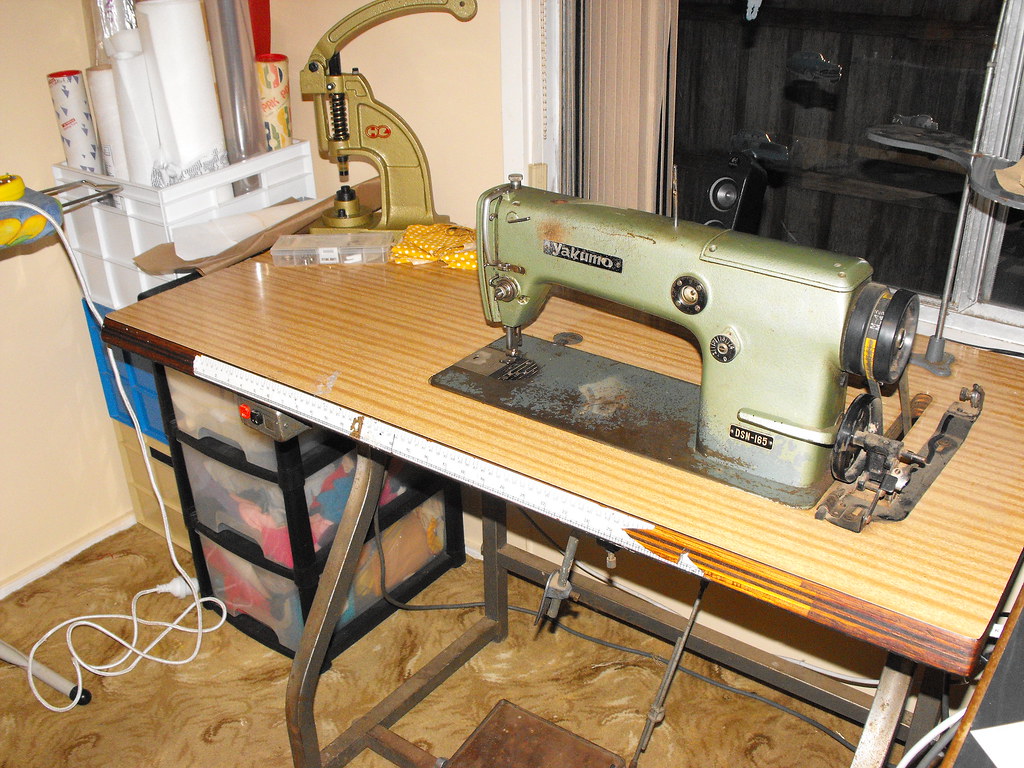
It's a Yakumo DSN-165.

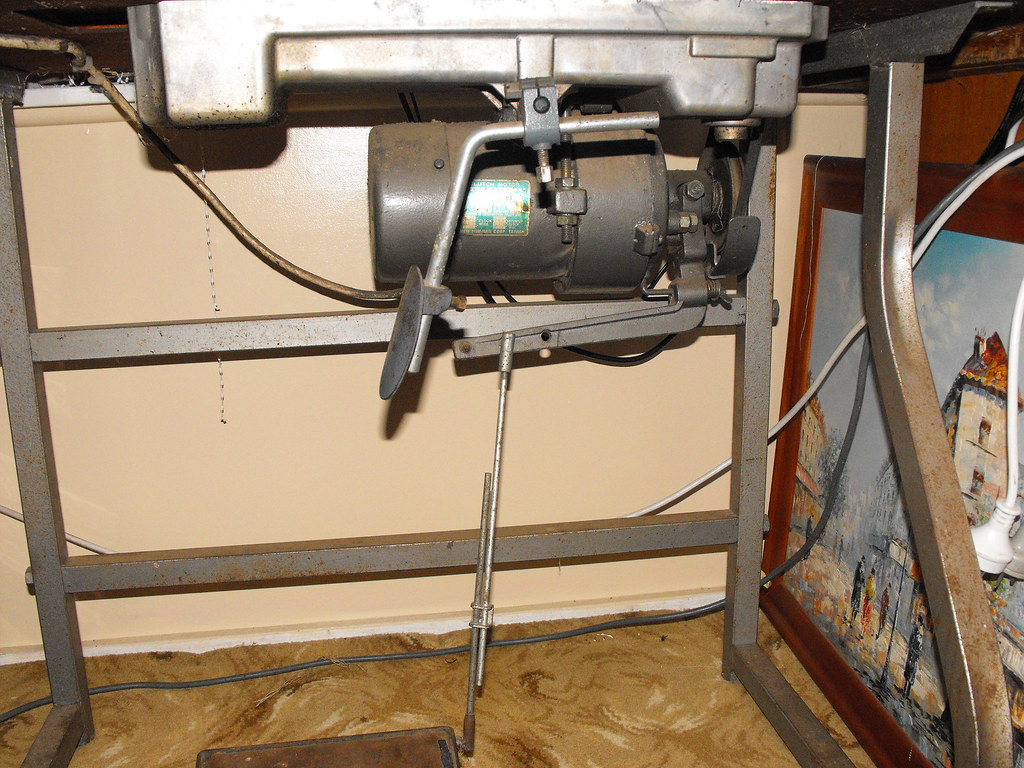
It has a motor on the OUTSIDE of the machine. When you unplug the machine, it continues to run, for quite some time!

It also has a SUMP! I must apologise, I really had no idea about industrial machines until this one came to live with me today.


I just need to work out how to use it....
Is anyone familiar with this machine?


Blogging tips