Showing posts with label robots. Show all posts

Sunday, 24 July 2011

The Hotties at Open Drawer

DSCF1429

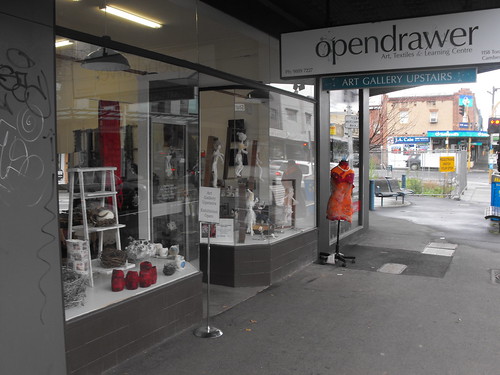
I finally made it to Open Drawer today to check out the Hottie exhibition.
DSCF1414

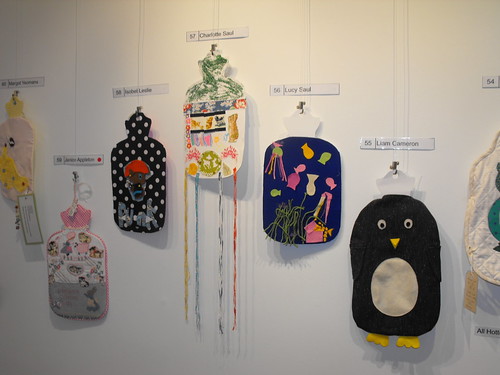
Amelie and I traveled to Melbourne with my mum and dad especially to see the exhibition and it was lovely to see all these beautiful hotties in person.
DSCF1418

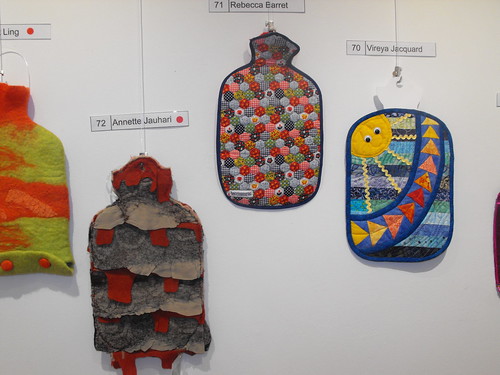
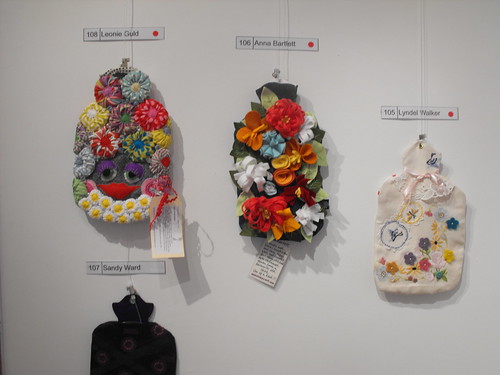
It is amazing how differently so many people approached the same task.
DSCF1419

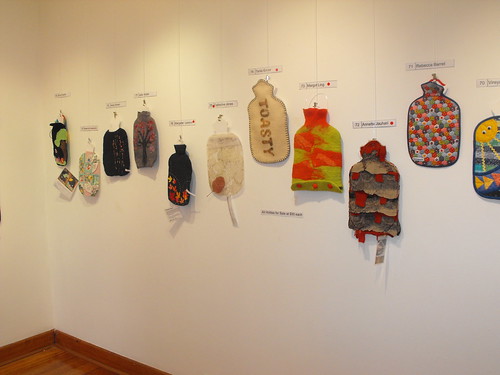
There were felted hotties, scrapbooked hotties, knitted and crocheted hotties.
DSCF1417

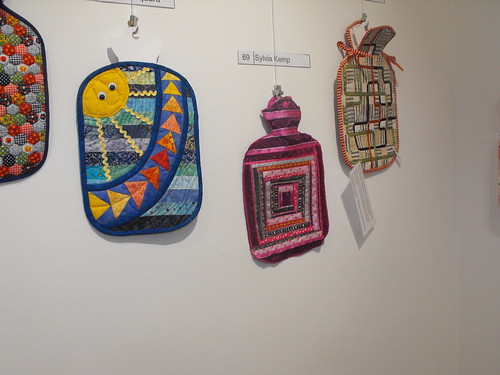
Hotties with thread sketching, applique and quilting.
DSCF1412

DSCF1413

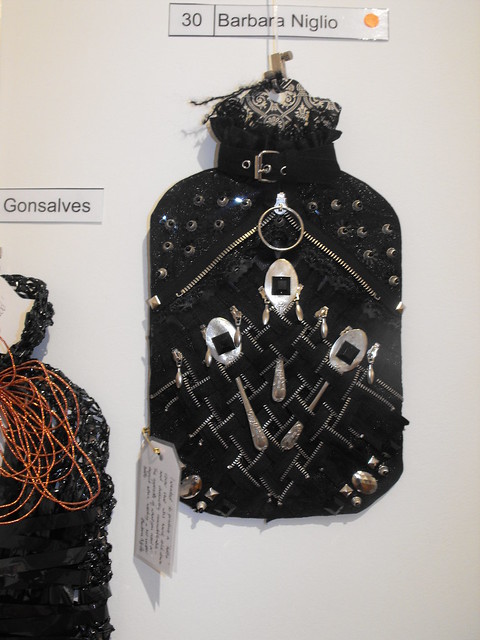
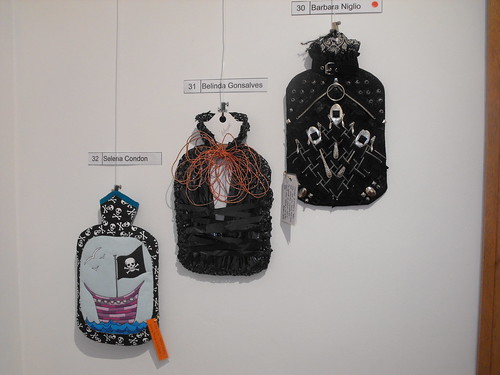
A hottie with spoons and zips!

DSCF1421

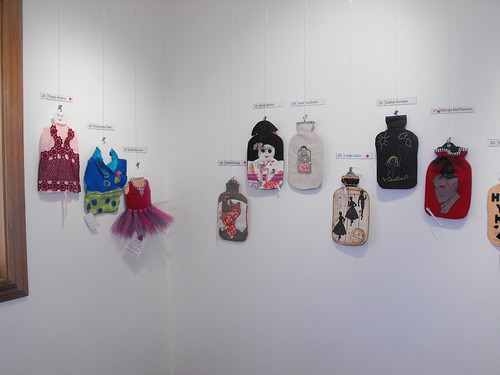
Hotties with recycled materials, metallic fabrics and lace.
DSCF1415

Hand-stitched hotties and hotties that were glued together.
DSCF1416

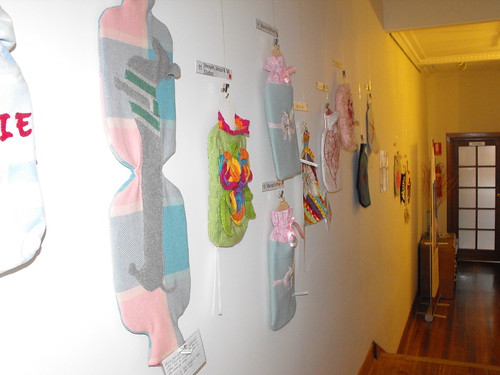
a double daschund hottie for two, a few mother & daughter(s) entries and even an entry from a man who made his hottie with guitar parts.
DSCF1411

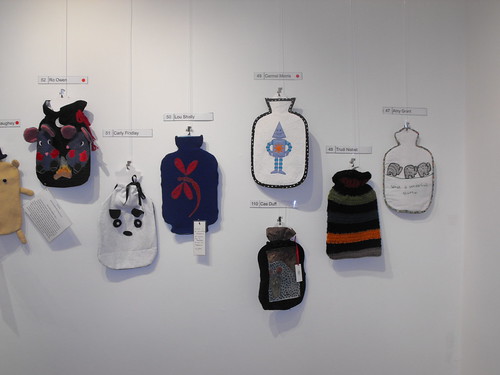
Hotties with robots, mice and elephants....
DSCF1420

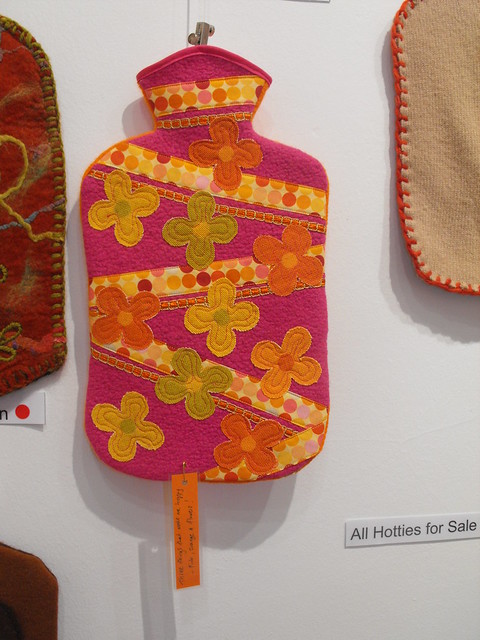
....and a hottie from the amazing Curly-Pops, who was responsible for many, many people joining in on the Hottie Challenge. What an awesome effort!
DSCF1427

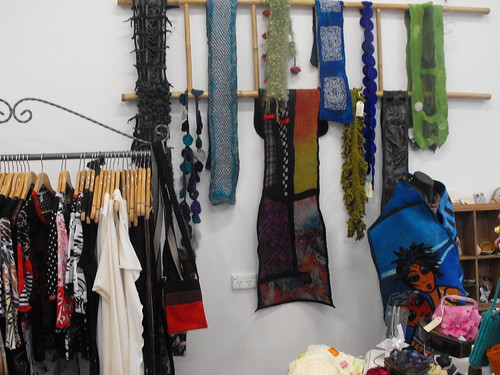
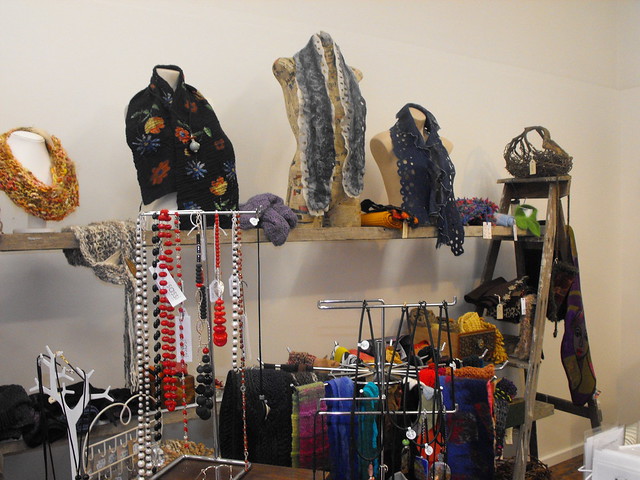
After checking out the gallery of hotties upstairs, we checked out Open Drawer downstairs.
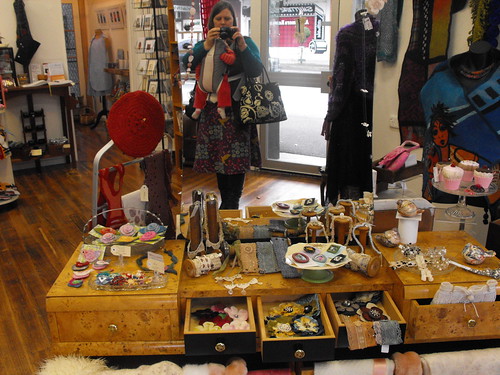
DSCF1425

Everything is made by Australian artists
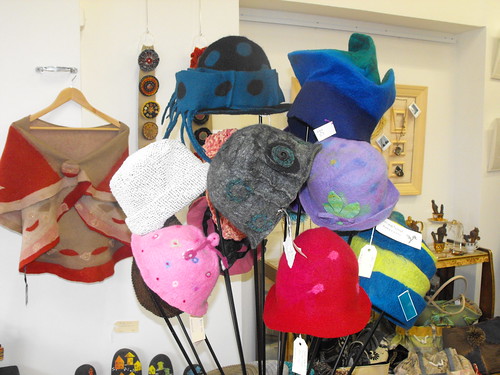
DSCF1423

So many beautiful things to wear...

DSCF1422

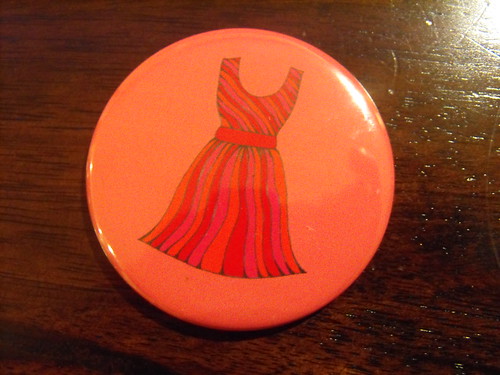
and I bought myself a little something special....
DSCF1434

Friday, 22 July 2011

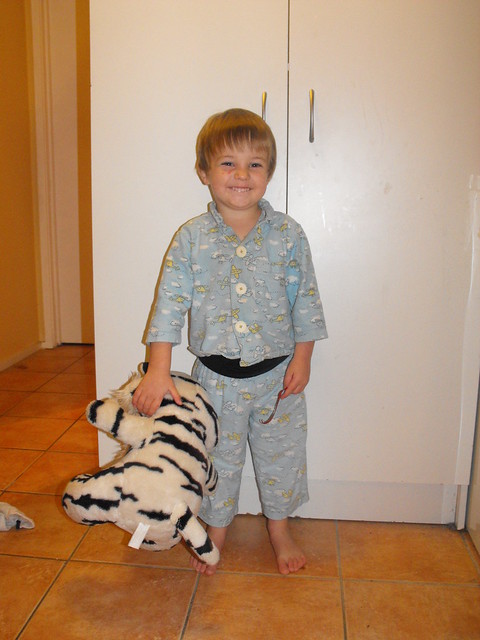
Robot Pajamas

DSCF1393

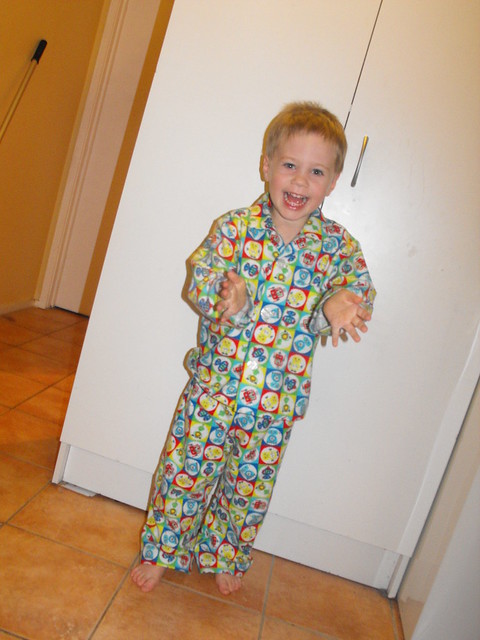
I finally finished Liam's pajamas that I started, back here. I really should get a wriggle on and make some more so I can pass his old ones onto Noah.

DSCF1392

His are looking a little small!

If you are new here, the pattern is Kwik Sew 3126. It is my most used pattern by far. I got the fabric for $3-something-a-metre at the end of season last year at Spotlight.

Wednesday, 22 June 2011

The Hottie Challenge

DSCF1363

The Margaret Pratt Foundation is a charity organisation that supports research to improve the outcomes of heart and lung transplant recipients. Open Drawer are running the Hottie Challenge to support the Margaret Pratt Foundation. If you want to know any more about this fabulous event, and check out some of the entries, you should step on over to the CurlyPops blog and check it out.

DSCF1364

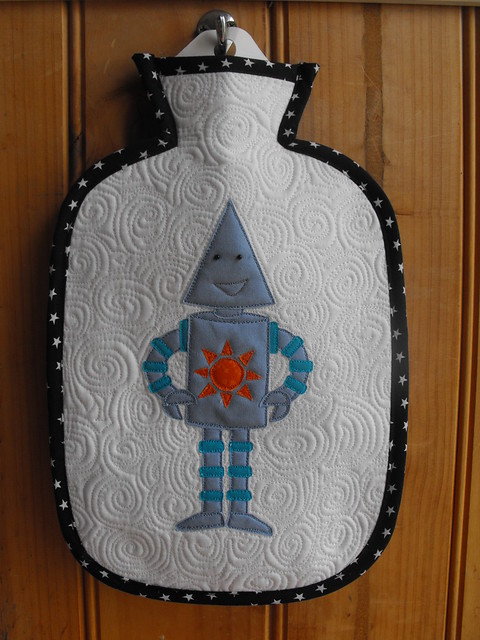
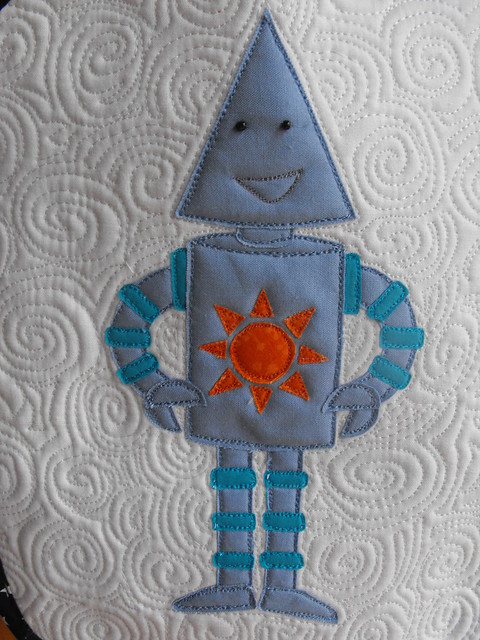
I had a really difficult time trying to decide what to put on my hottie cover. I felt that it should reflect me and my blog in some way. I eventually decided to use my own robot appliqué design, (inspired by a comment from Jodie on a recent post) but using free-hand, raw-edge appliqué techniques (that I learned from Kellie) rather than by using the embroidery machine. Instead of using regular thread to appliqué and quilt my hottie cover, I used thread from the embroidery machine. I love the finish - it gives the whole project a lovely sheen.

DSCF1365

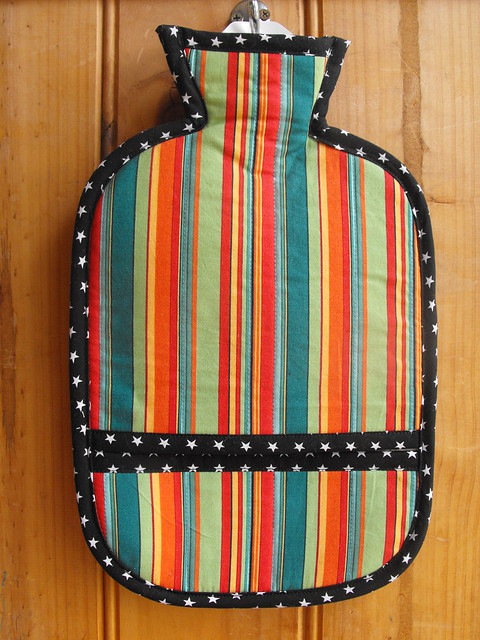
I almost forgot to put an opening in the hottie cover to be able to insert the hot water bottle, but fortunately remembered before I stitched the whole thing together. There's nothing like last minute creativity! My hottie cover went in the mail this afternoon, and now I am relying on Express Post to get my parcel into Cam's letterbox by tomorrow. Oh, and I have no idea if an actual hot water bottle would fit in there.

Thursday, 16 June 2011

Robot Hooded Jacket, Revisited

DSCF1342

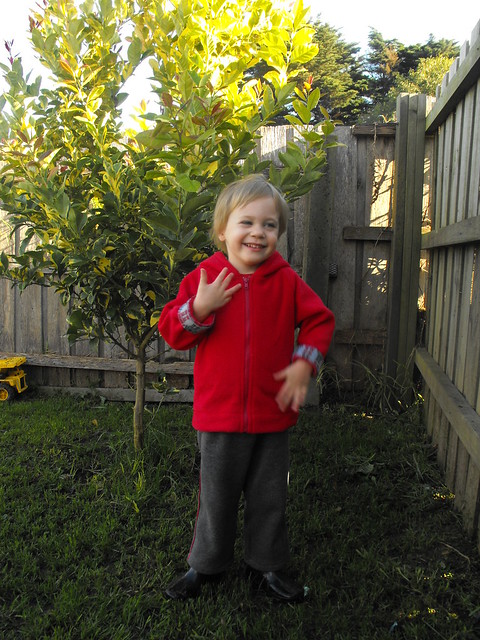
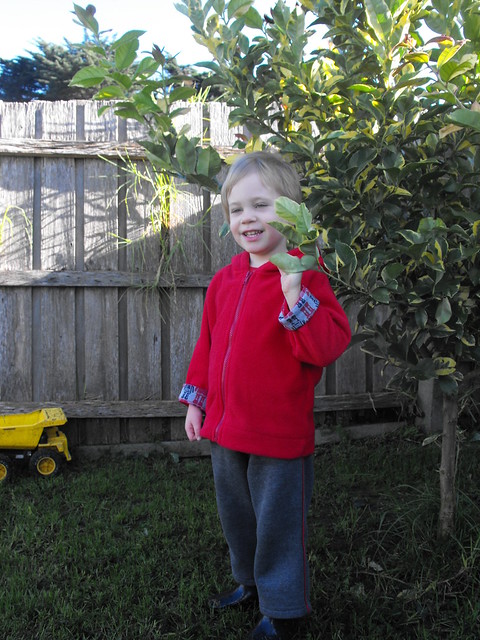
Just over two years ago, I made this jacket. It has been a firm favourite of Liam's and he has only recently started allowing Noah to wear it occasionally. The only thing is, it doesn't really fit Noah any more, either.

DSCF1341

I have been meaning to make him another one for quite a while. In fact, I intended to make one last winter. Anyway, I finally got around to it over the long weekend.

DSCF1337

The only major difference (apart from the size) was I made larger cuffs, to make more of a feature from the robot fabric. You can see in these photos, that Liam has the cuffs folded back, but it looks the same when unfolded too.

DSCF1345

Thursday, 9 December 2010

One down, one to go (almost there!)

DSCF1556

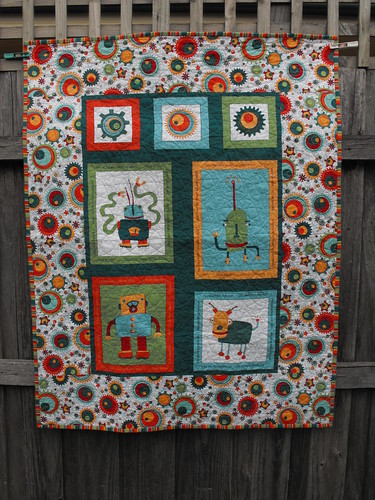
My goal was to get these two quilts done by the end of November. I didn't quite. I just finished the quilting on Noah's this morning, and all I need to do now is some hand stitching in front of the tv.

DSCF1557

The quilting is an all-over star and swirl pattern that I based on one I saw on Flickr. By the time I did Noah's I changed the swirly bits a little as I worked out a better way to do it. (And oops - I see that I missed a loose thread!)

DSCF1561

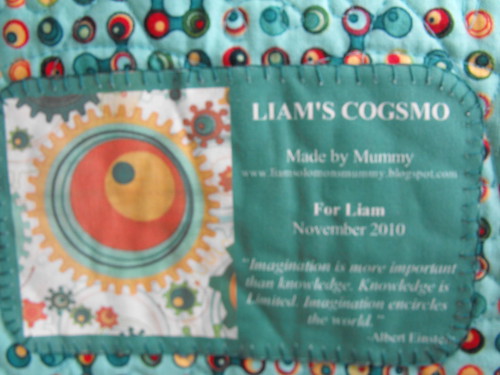
I managed to get Liam's quilt quilted before the end of November, and the machine sewing part of the binding was done too, but I think it was December 3rd by the time I got the binding stitched down and the label on. I still used the one that says November though.....

DSCF1562

Thursday, 8 July 2010

Robot Hoody

I made this top for Liam on Wednesday. Entirely. I traced the pattern from the Kwik Sew - Sewing For Toddlers book. I cut it out. I embroidered the robot on the front piece and I put it together mostly with my overlocker. All in one day. With two toddlers running around, that is a mean feat!


The robot is from the set called Radical Robots, that I purchased from Embroidery Library last year. I used it for Noah's Hat as well. I should mention that I actually purchased the set using a voucher that they sent me for my birthday - isn't that lovely and generous of them? 

I have just received another voucher (my birthday is next week), still trying to decide what to buy with it...

Friday, 3 July 2009

Robot Manufacture

Okay, this is my first robot. There are a few things that need a little tweaking, and as I was watching the machine sew this litte guy, I could see ways to improve him.

I could use a couple of undisturbed hours to play some more and I think I will have him to a standard that I am happy with.

As you can imagine, undisturbed hours are in short supply around here.

Liam (almost 2) has just had the side of his cot removed as he is climbing in and out. He is really good at climbing in. Noah is in a matching cot with sides still on. Liam keeps climbing into Noah's cot. Alas, Liam is not as good at climbing out. Especially when he knows that mum is coming and time is of the essence. Hopefully we will avoid serious injury.

Thursday, 11 June 2009

I've Been a Bit Slack...


...updating my blog lately. I have been sewing, and I have been doing other things too. I just uploaded my camera to the computer, I did it because it was FULL. There were three different birthday cakes in there, and I made one of them, so I haven't been sitting around.

Anyway - the item I was photographing when my camera said "enough's enough" is this little romper that I have made as a present for someone who had a little baby boy (in December - I really have been slack!). She is going to be so surprised!

It's the "Turtle" baby romper from Ottobre 3/2008. I used the Robot fabric from Spotlight. I also used the red size 14 snaps that I got from Snap Source (last year? - I hope not the year before..) I actually finished this a week or so ago (even though I started it last year), I put the snaps on today, so the garment was finally finished. Sadly, snap setting using the Snap Source tool and a hammer makes my baby cry. :'(

The edges are finished using Ottobre's technique of binding. I cut a length of red fabric (a lycra blend) and sewed to the edge with right sides facing. The binding was 4/5 the length of the actual edge, so a little stretched. I then folded it back over and to the under-side. I pinned, and then I stitched it down using a twin needle. I then cut away the excess fabric from the back using my little snips as I don't have a pair of duck-bill scissors yet.

I have heaps of blog-catchup to do, so I will be back in soon.

Monday, 18 May 2009

Robot Jacket

I made this jacket for Liam out of some beautiful red polar fleece that I got from Spotlight.

I have lined it with the robot print interlock that I also got from Spotlight. I got some of this before Christmas, and loved it so much I went back and got some more.

I used the Kwik Sew - Sewing For Toddlers book to make this jacket up, although I did a lot of alterations.

I made up two hoods, and joined them along the face edge, facing each other, flipped them out to the right side and top stitched along the edge. I then left the bottom edge open.

Instead of making a facing for the jacket, I cut out entire front panels to face the inside. When I sewed the raglan edge to the sleeve, I left the lining part loose. I attached the hood as per the instructions in the book, but with the front facing folded back over the hood - sort of like when you put the collar on the pajamas. After the hood was attached I stitched the raglan edge of the facing to the already joined raglan edge between the front and the sleeve.

I also added a facing to the bottom edge of the sleeve after I chopped some off (to avoid exxxxtra loooong sleeves, lol!) The sleeve was fiddly, I sort of sewed up the inside of the sleeve, as well as the facing, folded the facing back and then top-stitched the facing down. It was trickier than usual, being so far up the inside of the sleeve.

Anyway, I am really happy with the way this jacket turned out.


Saturday, 18 April 2009

Brought to you by the number 2

I completed this long-sleeved t-shirt yesterday, just before dinner. It was too late to take pictures then, so Maxx took some pictures for me this morning.

I used the same long-sleeved t-shirt pattern from the Kwik Sew Sewing for Toddlers pattern book, with the same modifications as before, as well as a few new ones.

For the sleeves, I traced a short-sleeve, and added the same extra to it that I added to the long-sleeve last time, as it is also designed for a ribbing cuff. I placed the long sleeve pattern over top of the short sleeve pattern, allowed enough for the hem and overlap, and drew a line across the long-sleeve pattern. I folded the pattern across this line so I was really only cutting out three quarters of a sleeve.

I finished the bottom edge of the short sleeve, and the top edge of the long sleeve, using my overlocker. I then folded the hem up for the sleeve and pressed it. I placed the short sleeve over the top of the long sleeve, and then joined the two using a twin needle.

For the neckband, the normal amount of ribbing to use for this pattern is about 29cms long, by 7 cm wide. I cut two 29cm strips in grey and navy, joined them length wise, and then trimmed the navy to 4cms from the seam, and the grey 3cms from the seam. I thne treated this as one piece of ribbing and attached the neckband as normal with the grey showing on the outside.

Before I added the sleeves to the shirt, I realised that it would be a bit boring, so I cut a big number two from some robot fabric I got from Spotlight. I made some of my nephews t-shirts out of this at Christmas and forgot to take pictures for my blog. The fabric was so good, I went back and got more, so I have a couple of metres of it in my stash.

Overall, I am pretty happy with how this turned out. It is a good fit, and my pattern is right to make more of these the same.

Blogging tips