Showing posts with label Embroidery. Show all posts

Tuesday, 11 March 2014

Doe, A Deer

Doe, a Deer


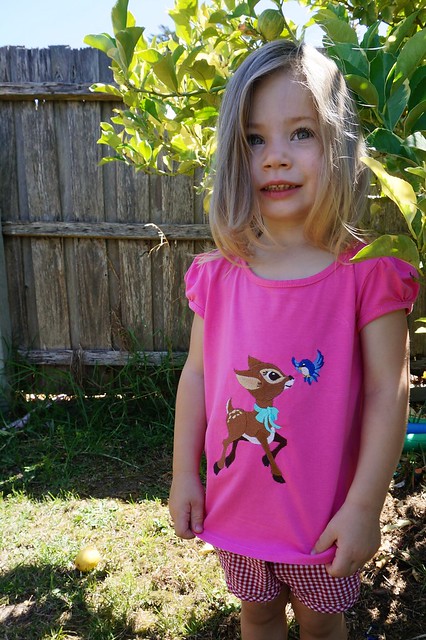
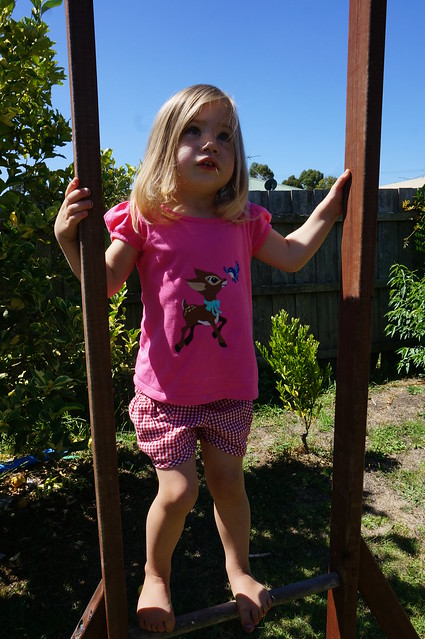
From the moment I saw them, I knew I had to have this embroidery design pack from Embroidery Library. The embroidery pack is called Springtime Frolicking Friends and comes in three different sizes. I chose to go with the medium size which I think is quite large, as it turns out. It's the perfect design to pretty up a cheap, plain t-shirt. The design pack has the deer featured with a bunch of other little forest friends, including a rabbit and a skunk (remind you of anyone?). The design I used stitched out beautifully, without any problems.

A female deer


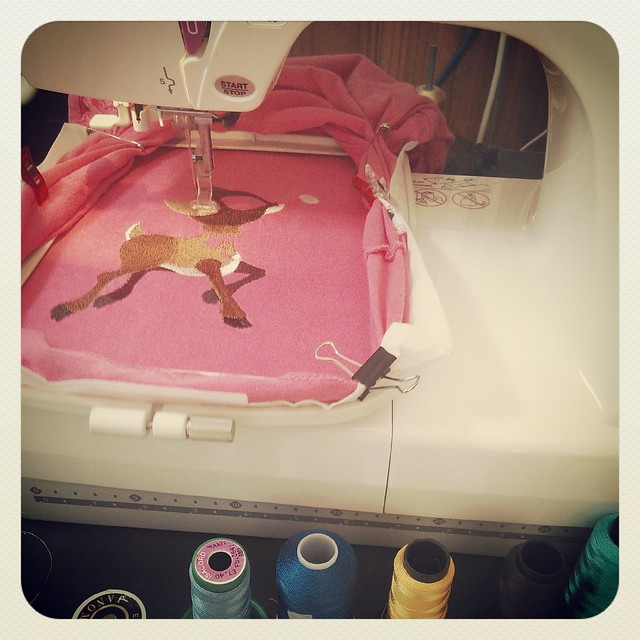
I hooped the t-shirt and the stabiliser together - I used a cut-away stabiliser, rather than a tear-away. The tricky part for me, was trying to keep the rest of the t-shirt out of the way, which I did using safety pins, bulldog clips and Clover Wonder Clips. The t-shirt I used was a size 3, I don't think I would attempt to do this on a smaller t-shirt, it was really quite fiddly, but I got it to work.

Stitching out the Deer


Have you got an embroidery machine? Purchased any good designs lately? Any suggestions as to easier ways to hoop up a small child's t-shirt?

Tuesday, 14 August 2012

Noah's Ark

DSCF1007

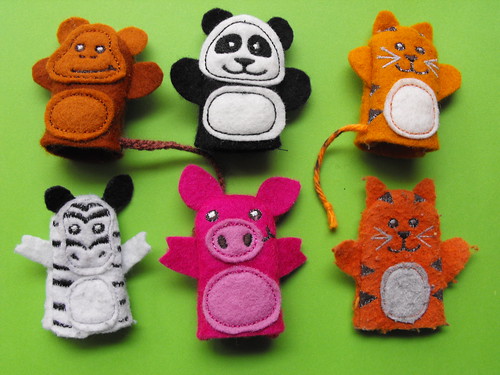
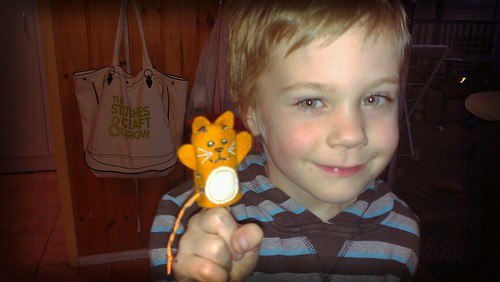
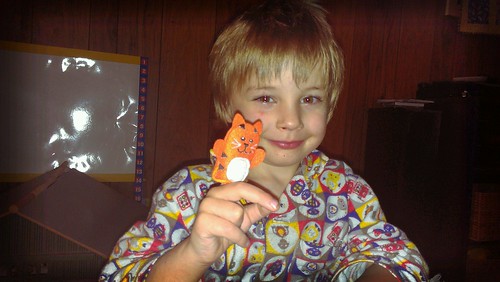
Every year, Embroidery Library send me a voucher for my birthday. I went for a bit of a look around their site to see what I would like and found this awesome "in-the-hoop" Noah's Ark Puppet pack. In-the hoop means the whole puppet is made in the hoop. There is no having to stitch it all together at the end, the embroidery machine makes the whole thing. Ingenious!

Untitled

I ended up getting a pretty good deal out of the whole thing. In addition to being able to take $10 off my order, the same weekend as my birthday, they had a deal going where you could get 40% off your order, and receive three free designs as well. I was able to combine this deal with my birthday deal and ended up paying about $5 for a $25 set. Embroidery library always has great deals going, so I hardly ever end up paying full price for anything there. If you've got an embroidery machine, they are well worth signing up to. Just make sure you tell them your birthday.

Untitled

Anyway, so I had a bit of fun sewing up these cute little puppets. I am very tempted to go back and buy the fairy-tale set as well. I've told myself that I need to make more of the animals before I start buying any more puppet packs. Really, being a Noah's Ark set, I should be making two of each.

Untitled

A few little tips I would give someone making these:
  • Instead of spray glue, get yourself a Sewline glue pen. It's nowhere near as messy, and much easier to just put a dab where you need it. You use it instead of using pins just to hold everything in place. I found the spray glue stuck a little too well, and with some of the felt it stretched it out of shape a bit.
Untitled

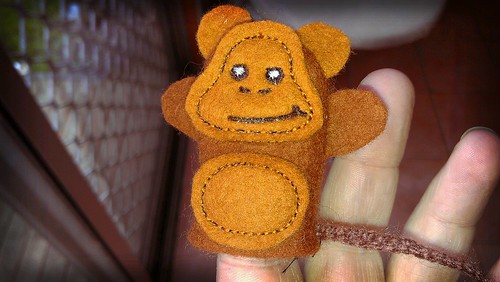
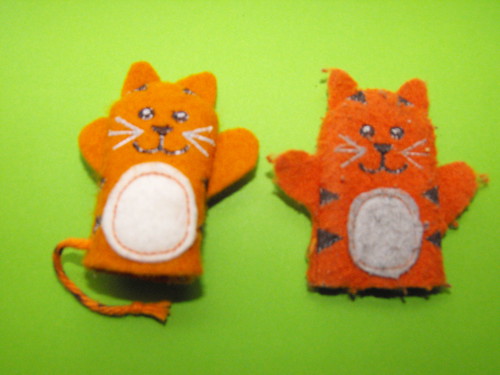
  • Use good quality felt. Some of the felt I used was cheap polyester stuff from my local shop and from Spotlight. You can really tell the difference between the two tigers. The one on the left was made using felt from Plushka, the other was made using the cheap felt. It is so worth spending the extra money to get really nice felt, these little guys don't use very much anyway. The zebra was also made using cheap felt, whilst the Panda was Plushka and the pig and the Monkey were made using felt from Winterwood.

DSCF1012
  • You can skip a lot of the colour changes by using the same colour thread for a bunch of steps. For most of these puppets I used just three colours of thread, one to match the main felt colour, and then the black and white for the eyes (though sometimes I used silver and dark sepia). Generally, for the first four colour changes I used the same colour thread as the felt and then again for the last colour change.

DSCF1007

It's been great fun making these little finger puppets. I would like to try more different kinds of puppets, maybe even design some myself? Do your kids like playing with puppets? Did you play with them when you were little? Have you ever made any puppets? Do you know of any good puppet patterns?

Come and join me and some other crafters over at And Sew We Craft...

Wednesday, 11 July 2012

Kwik Sew Hoody for Liam

DSCF1701

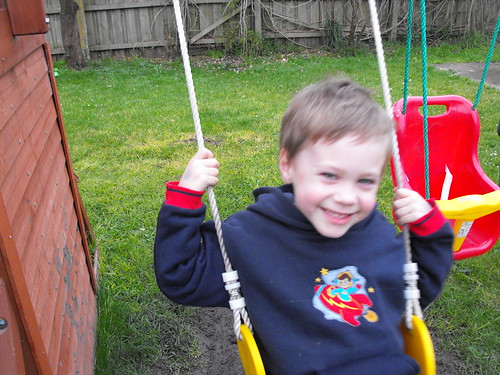
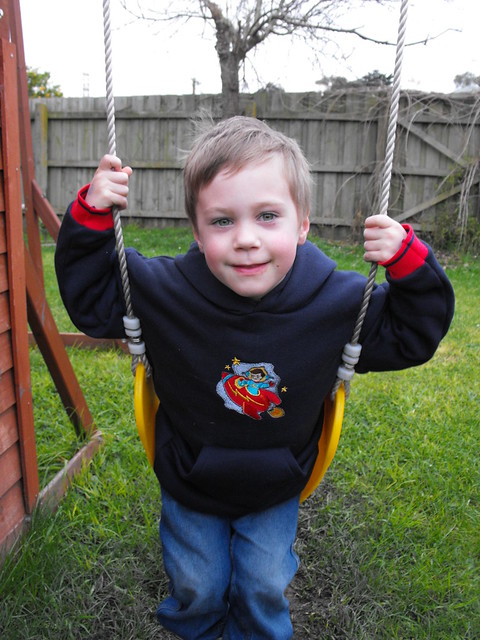
Excuse my blurry photo, but I think the smile is irresistable. That's my handsome Liam in his new hoody that I made for him last Friday. It's one of the items I promised to finish in this post. I did the embroidery a bit earlier, whilst I had a bit of a cleaning frenzy in my sewing room (not that you can tell anymore). We've used it before, but it's the one Liam chose for this top and it's from the Embroidery Library. I have a voucher they sent me for my birthday*, I must remember to go and spend it.

DSCF1693

The pattern is from Kwik Sew's Sewing for Children. We've finally moved up from the Toddler book. Now that McCalls have taken over Kwik Sew, I'm wondering if these books will stay, or become a thing of the past? Apparently, the lovely paper patterns that Kwik Sew has are disappearing and being replaced by tissue. What sort of patterns do you prefer, paper or tissue? Do you have a favourite Kwik Sew pattern that you think should be snapped up before it gets switched to tissue paper?

*they do this for everyone, if you have an embroidery machine it is well worth signing up

Thursday, 5 July 2012

Warm Winter Coat

DSCF1682

Dolly now has a lovely, warm coat for a cold, Melbourne winter. The pattern is from the kinder wardrobe pattern for kinder girls and boys by the lovely Jodie of Ric Rac. I used a built in embroidery pattern on my machine to do the lovely flower edging. I really need to make more use of those patterns. I used some Gütermann upholstery thread, so it stands out just a little more than it would if I just used normal thread.

You can check back through Dolly's progress here, here and here. Or if you want to see what other people have been doing in their creative spaces this week, you can check that out over here.

Monday, 19 December 2011

With Bells on their Toes

DSCF1496

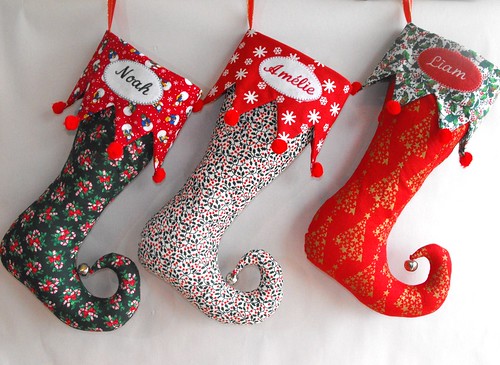
I spent a fair amount of time last year trawling Etsy and Made-It, looking for just the right pattern to make some lovely elf-stockings. This year, I googled, and found this amazing free tutorial.

DSCF1490

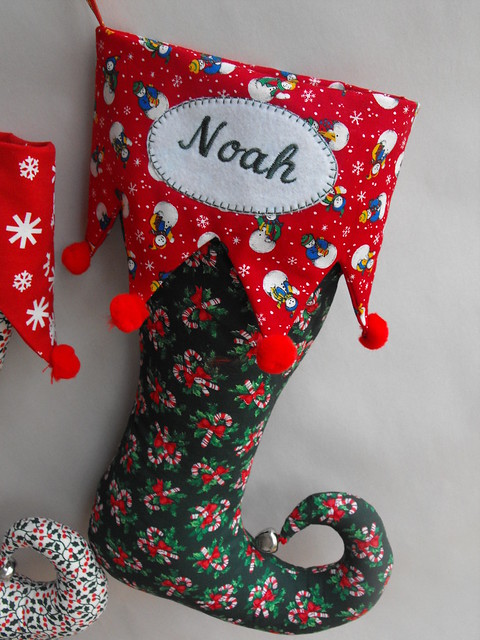
Instead of the appliqué monogram in the tutorial, I used my embroidery machine to put their names on felt, which I then appliquéd onto the stocking with blanket stitch. In addition to the instructions, I also added some bells to the toes, which I think adds a nice festive touch. Despite the fiddly-ness of the operation, I think sewing on 18 little pompoms was well worth the effort.

DSCF1492

I also added a lining. The original pattern has no lining, so the stuffing is accessible at the bottom of the stocking. I used the stocking pattern to fashion a lining, chopping it off just below the ankle and adding a bit of a rounded edge. I stuffed the toe before adding the lining to the inside of the stocking. I basted the top edges of the lining and stocking outer before adding the cuff. You could still pull the lining out, but not the stuffing, which is what I wanted to achieve. I also under-stitched the lining so that stays nice and neat and doesn't pop out of the top of the stocking.

DSCF1491

They have Noah's approval: "I really do luff it a lot".

Hopefully they will get used for many years to come.

Monday, 25 July 2011

Are you going to the ASG Industry Day?

It is on Saturday August 27, 2011 at Boronia Uniting Church Hall, Boronia Road, Boronia  from 9:30am - 3:30 pm.


View Larger Map

The cost is $30 for members of the Australian Sewing Guild, and $35 for everyone else. This cost includes morning and afternoon tea, including cheese and biscuits and Scones with Jam and Cream (did someone mention Devonshire Tea? Mmmmm...!) and your lunch (quiches, sandwiches and fruit platters), so pretty good value, I think.


There will be some awesome speakers, including
  • Style ARC, who have up to the minute fashion patterns, including one just like Pippa Middleton's bridesmaid dress (if only we could all look as good as she did in it!).
  • Leanne Church from Echidna, for those of you who are interested in machine embroidery.
  • Nicole Mallalieu, my favourite pattern-designer, blogger, and author of "You Sew, Girl!" will also be there. 
    If you want to go, you need to register and pay by Saturday, August 13. You can do this here, or by contacting my mum (ASG Membership secretary - she wont sign you up for the guild unless you want her to, I promise) or if you happen to be at the Melbourne Quilt and Craft fair later this week, the lovely ladies at the Australian Sewing Guild stand will help you.

    I will be going, will you?

    Tuesday, 14 June 2011

    The Red Baron

    DSCF1333
    It was a long weekend here just been, and the weather was awesome. I got heaps of stuff done! Lots of sewing and I even managed to get out in the garden and plant my bulbs that I have been wanting to do for weeks. Maybe soon I can come back and show you the result of that... wish me luck!

    DSCF1334

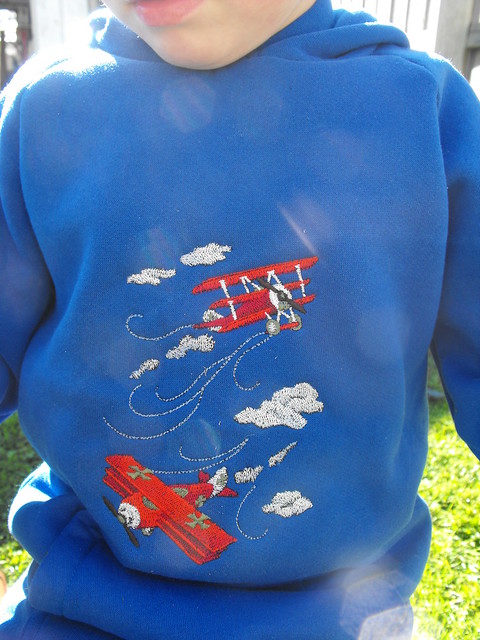
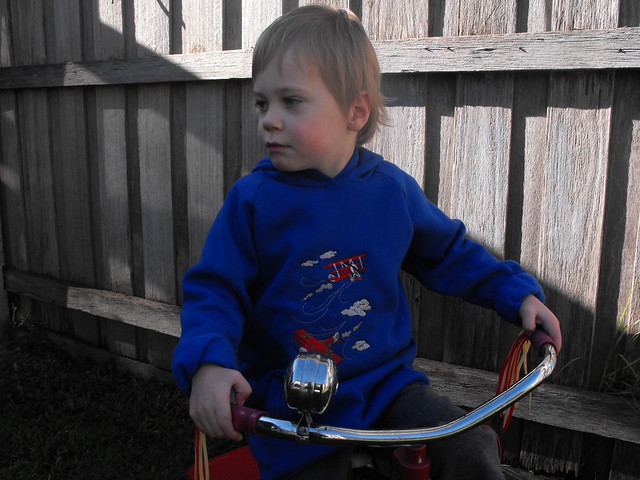
    Anyway, this was the first thing I sewed this weekend, a hoody for Liam, using a $1 design from Embroidery Library. The fabric was left-overs from Paige's school uniforms from about umm... I dunno... 10-12 years ago? It's not a colour I would rush out and buy, but it looks nice on Liam. I wanted an embroidery on it so it didnt look too "school-uniformy". I had to borrow some threads from Mum as I just didn't have enough of the right reds.

    DSCF1331

    I used the Kwik Sew Sewing for Children book, and I included the kangaroo pocket on the front for Liam to keep his hands warm and store treasures in.

    DSCF1335

    Sunday, 17 October 2010

    Unfinished Business

    DSCF1479

    This is what I was working on today, since I need some green thread for this project, I thought I would practice my quilting by working towards finishing the cushion covers I was making in Kellie's class. Now I need some Gutermann 111 as well...

    I was chatting with Karen a little later, and she mentioned that she was putting some UFOs (Unfinished Objects) on her blog.

    I mentioned that I have a few myself, and this is just a small sample of them...

    DSCF1474

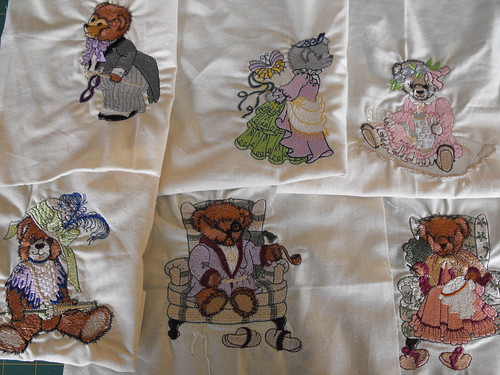
    Some embroideries that I was doing even before I got my embroidery machine, to make a quilt out of for the cradle. Now that I have a baby on the way again, I have reason to complete this. I was wanting more quilting experience under my belt before beginning this. I feel reasonably confident that I can put it all together now.

    DSCF1476

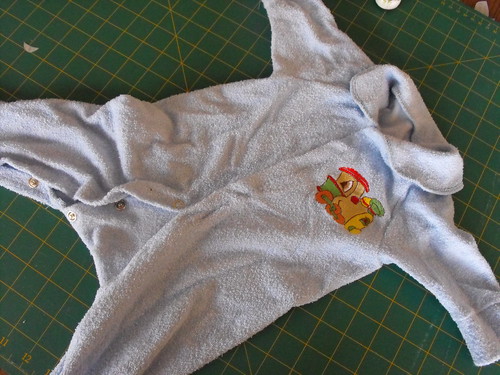
    This is a grow suit, it never got finished because the snap up the top didn't attach properly and I had trouble getting it off. Now that I have a snap press, it really shouldn't be too difficult to sort out. Does anyone have any tips for removing dodgy snaps though?

    DSCF1475

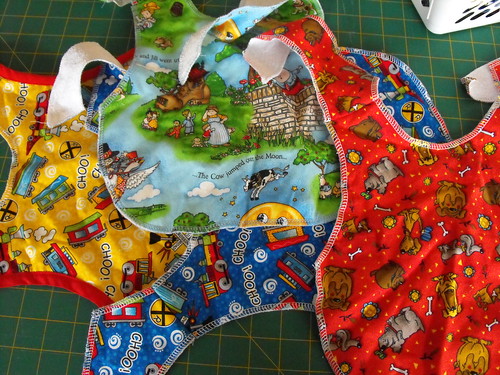
    Some bibs that I was making, using this free pattern from Nicole Mallalieu. I think I just never got around to it? It will be a while before I really need these, because they are really toddler size, but it would be nice if I just finished them.

    I have noticed when looking at UFOs, that both my sewing room and my head explode. There is stuff everywhere, and my brain is bursting with ideas for a whole host of new ideas of things to make, surely some of which will be my future UFOs. Does this happen to anyone else?

    Wednesday, 21 July 2010

    Monkey Hoody

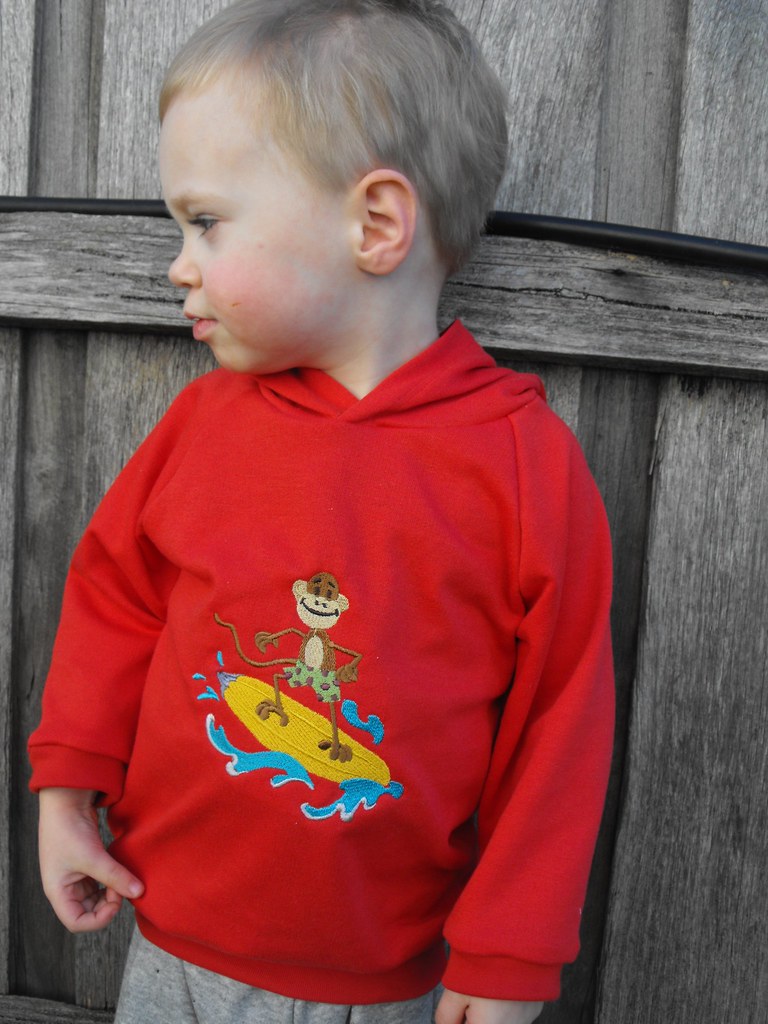
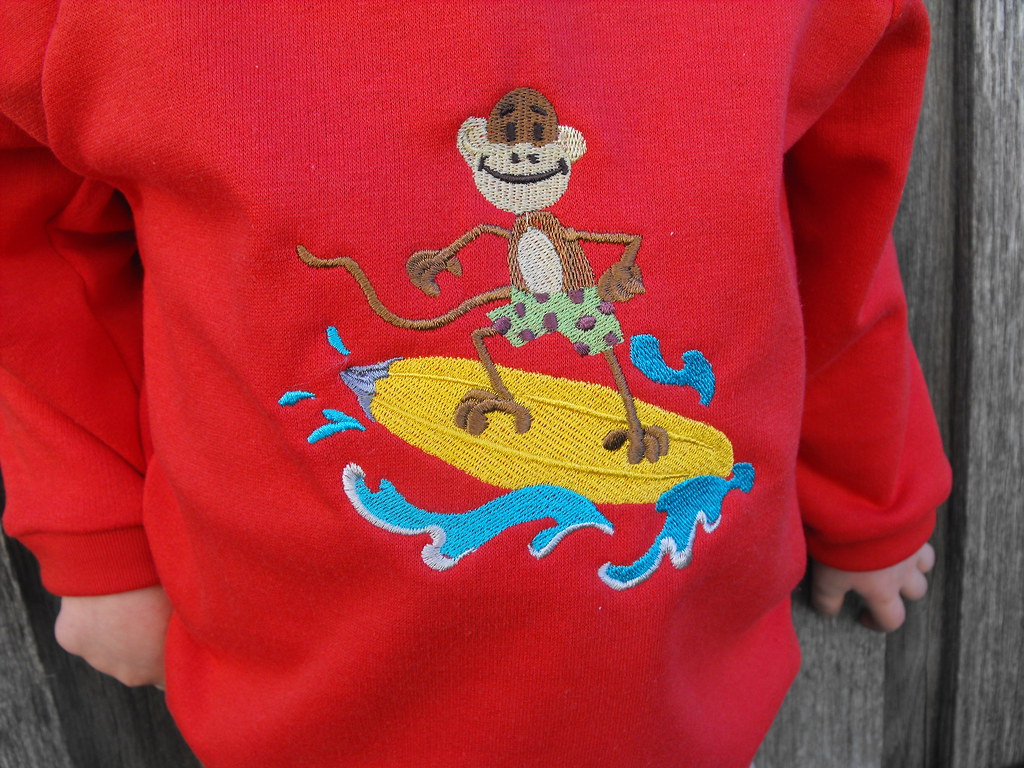
    I quite liked how quickly the last hoody sewed up, so I made another.


    This time I added an embroidery from Embroidery Library. The banana surfing monkey is one of this month's freebies, so if you want one for yourself, you should get one before the month is over.

    Thursday, 8 July 2010

    Robot Hoody

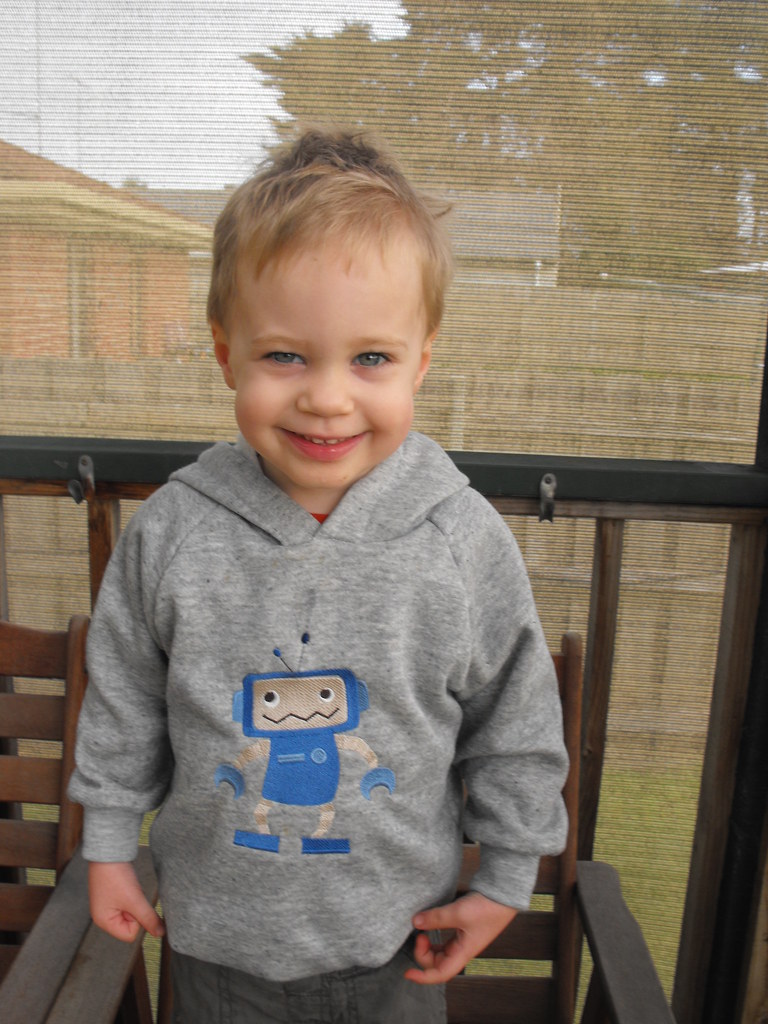
    I made this top for Liam on Wednesday. Entirely. I traced the pattern from the Kwik Sew - Sewing For Toddlers book. I cut it out. I embroidered the robot on the front piece and I put it together mostly with my overlocker. All in one day. With two toddlers running around, that is a mean feat!


    The robot is from the set called Radical Robots, that I purchased from Embroidery Library last year. I used it for Noah's Hat as well. I should mention that I actually purchased the set using a voucher that they sent me for my birthday - isn't that lovely and generous of them? 

    I have just received another voucher (my birthday is next week), still trying to decide what to buy with it...

    Thursday, 18 March 2010

    My Creative Space

    I am working on the name badge swap for Sew It Together.

    I finally have some text that is readable, but the badge needs to be no more than 9cm in any direction (hey, did it occur to anyone that name badges can be 3 dimensional, meaning your badge could stick out 9cms from the bearer's chest, tee-hee!). I think I have found a solution, hopefully it works.

    But wait! There is no name on the badge! That's because it is a secret.... shhh... more will be revealed in the near future.

    Visit Kirsty to see more Creative Spaces.

    Thursday, 4 February 2010

    Retro Rocket Tee


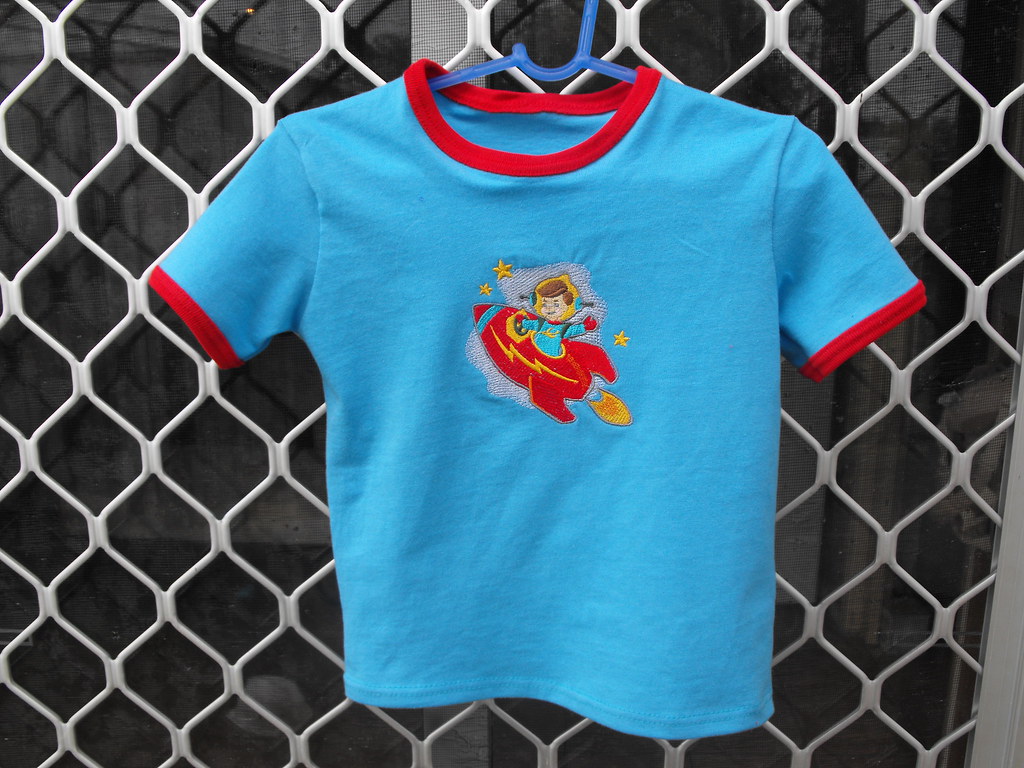
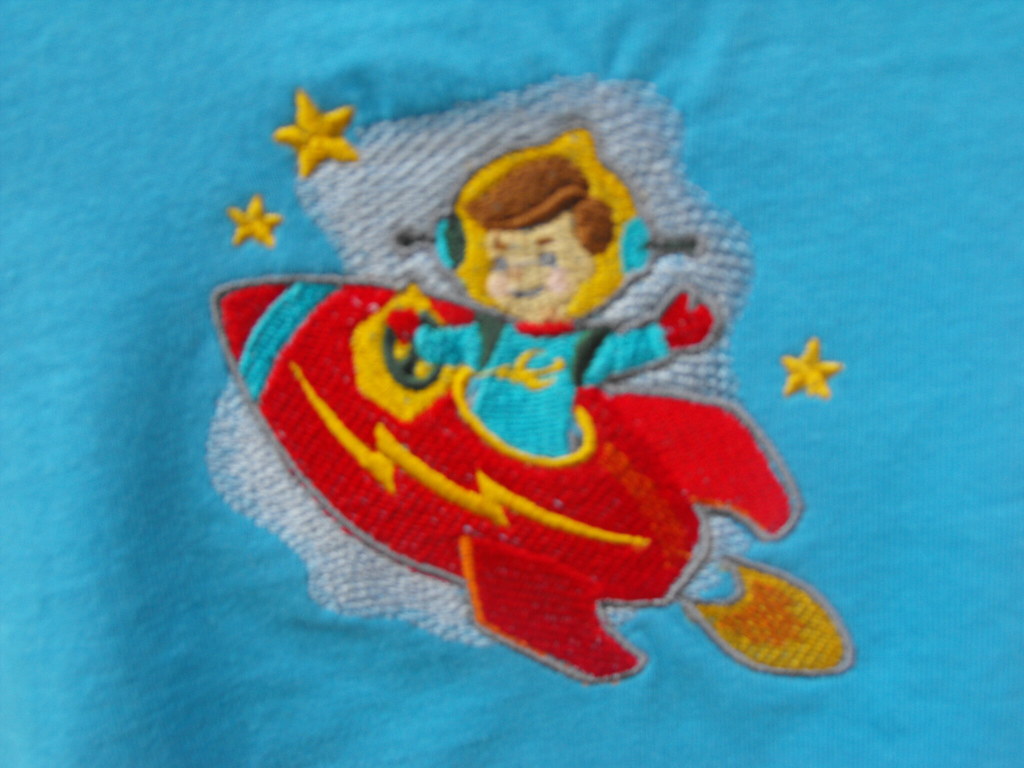
    I made this t-shirt for Liam today. I used the "Octopus" t-shirt pattern from Ottobre 3/2008. I have made heaps of things from that particular magazine. I was a little unsure about the red for the neckband and cuffs, but I'm glad I went for red instead of safe, boring, reliable (and easily stained) white. The rocket is from the same set of embroidery designs as from Liam's hat from yesterday's blog post.

     
    Actually, I did the embroidery last night whilst checking out other people's blogs, but I put together the rest of the t-shirt today, I even traced the pattern. The embroidery design reminds me of the Michael Miller Space Kids fabric.

    Wednesday, 3 February 2010

    Rocket Hat


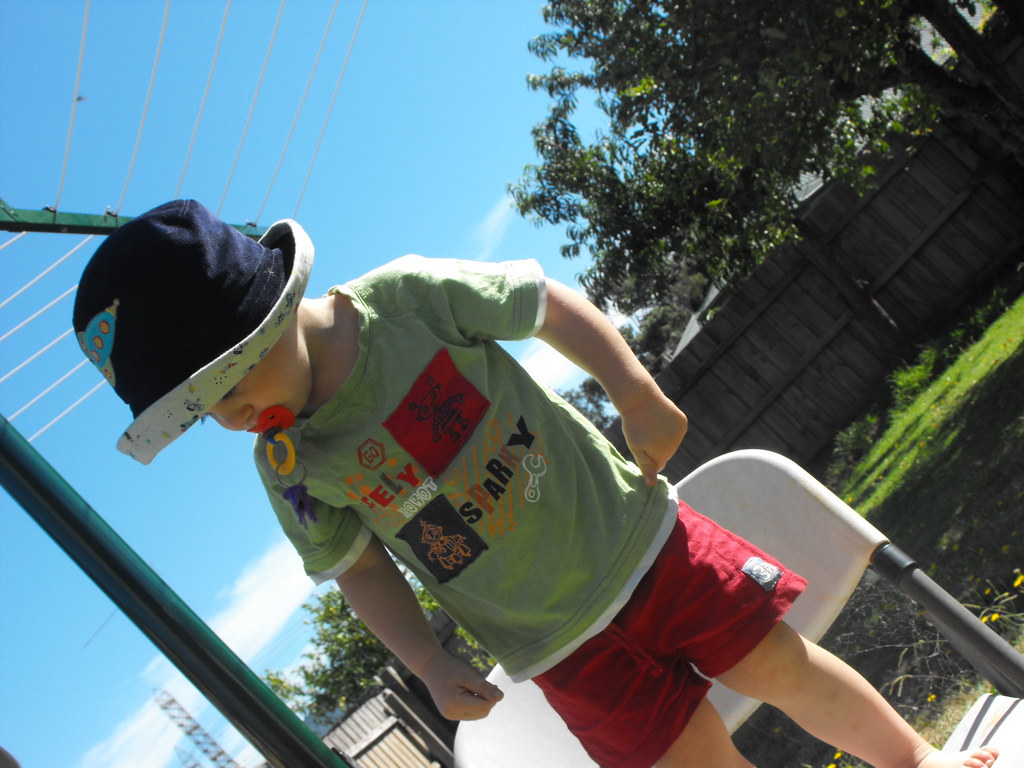
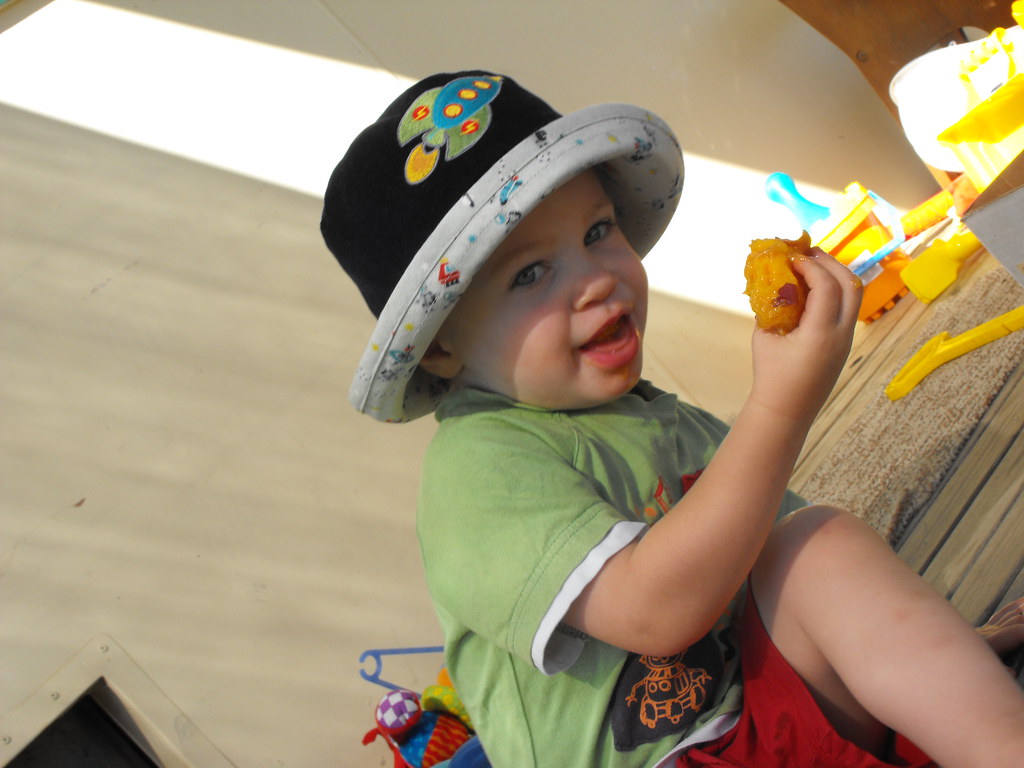
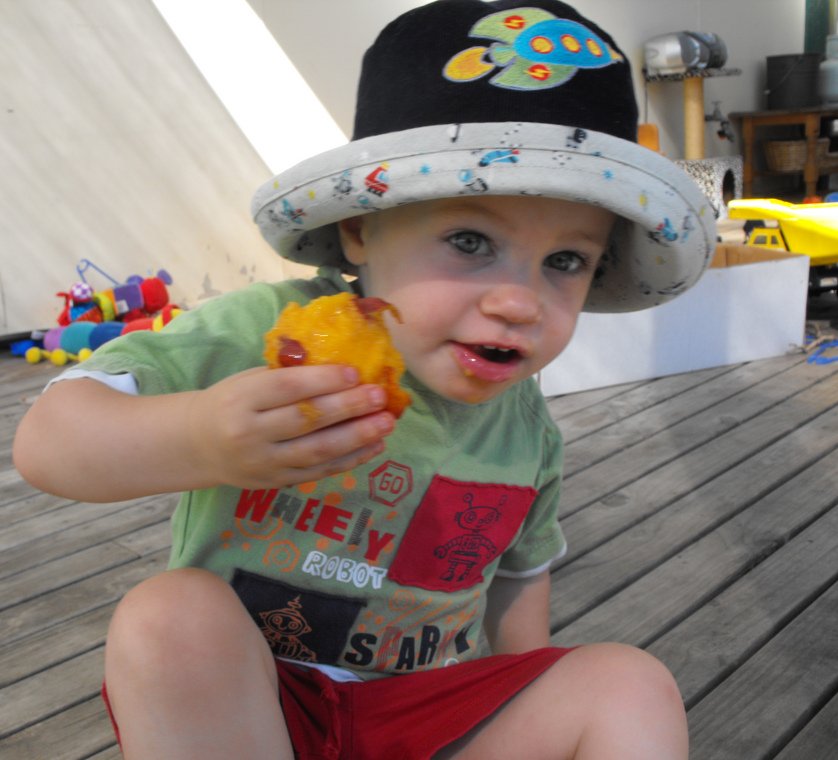
    When taking pictures of small children wearing hats, I have found it is best to let go of any plans you might have, or ideas about poses. Just take lots and lots of photos, and hopefully you might get a handful that have both a child and a hat in them and are in focus. Giving the child a piece of fruit also seems to help.


    This is the hat that I made at Sewjourn on Sunday. I didn't do the whole thing there, as I didn't fancy taking my entire sewing room with me. I had the embroidery done and the interfacing was bonded and the parts all cut out. I also made up a length of binding.

    The embroidery is from a set called Space Cadets that I purchased from Embroidery Library. The fabric is Kokka - this one has astronauts and rockets on it, and I purchased it from This And That From Japan (along with another piece) using my $25 voucher that I won from True Up. The pattern (of course) is Nicole Mallalieu's Kids Hats pattern. I used pinwale cord that I purchased from Spotlight.

    Wednesday, 28 October 2009

    Noah's New Hat!

    I literally had to chase Noah all around the back yard to take this photo. Here he is peeping out through the apple tree. I love the structure the pinwale cord gives this hat. I made the binding myself using the Trefle, it was a little short, so I unpicked, trimmed and re-stitched. I used the medium-heavy woven interfacing from Nicole Mallalieu Designs, and placed two layers on the upper brim. It's a little big, but I know it won't be by the end of summer.

    Lining Fabric: Trefle by Kokka, purchased from Retro Mummy
    Main Fabric: Brown Pinwale Cord purchased from Lincraft (online)
    Embroidery: Radical Robots, purchased from Embroidery Library (I chose different colours to suit my fabric)


    Sunday, 27 September 2009

    W is for Wendy

    My mum is off to enjoy a week of sewing related bliss over in Perth with the Australian Sewing Guild Annual Convention. She is staying with Wendy, and wanted to give her a gift to show her appreciation.

    I made Wendy a monogrammed purse. I have decorated it with some seed beads.

    It was my sister-in-law's birthday on Thursday too, so I made her one as well.

    The fabric is just plain, unbleached calico. I think it would be nicer in a linen blend, but the calico is quite nice. The backs of the purses were left plain. The lining is Shabby Chic that I bought from Spotlight.

    The purses are made from Nicole Mallalieu's 90mm square purse frame pattern. I used a light wadding to give a little structure.

    My sister-in-law was pretty happy with her purse, I wonder what Wendy thinks of hers?

    Monday, 21 September 2009

    A sense of....

    I started my blog so I could record my sewing. Sort of like an on-line diary. I kind of expected it to be a nice way to share with my mum some of the things that I made for my baby. One of the things that surprised me, and I never expected to find in the blogging world was the blogging


    I have made some lovely friends, and discovered heaps of new things (even about myself) by blogging and following (and commenting on) other people's blogs. The blogging world and most especially the crafty blogging world is a very special place.

    If you haven't tried it, you really should. The experience is amazing. Go comment on someones blog now. If you don't have one, start your own. Be a part of this fantastic online crafting


    ETA: If you are wondering what I am on about, check out Kootoyoo's Blog. She has hosted a sort of on-line blogging scavenger hunt.

    Monday, 24 August 2009

    Toilet Training


    I've figured out that the six pairs of undies that I got from Pumpkin Patch are just not going to be enough, so I thought I would have a go at making them myself.

    The fabric is a stretchy terry towelling that Mum gave me to make grow suits from. The pattern is from Ottobre 2004/4 (Winter).

    The airplane on the front was on the disk that I got with my embroidery machine. I swapped the blue for green and the black for blue. I used cut-away on the back and used some solvy on the top to stop the loops from popping out through my image.

    The undies have a layer of interlock in the gusset, and I added a layer of interlock to the inside of the front panel so that the back of the embroidery design wouldn't be too scratchy.
    They aren't perfect, but I do believe they are kinda cute.
    Now all I have to do is wait for him to wake up so we can try them on....

    Saturday, 11 July 2009

    EB Bag Swap - My Bag Revealed!

    For the Essential Baby Bag Swap, I was paired up with Kelly from Western Australia. I decided to do Nicole Mallalieu's Day Bag. The shape of the bag is rectangular, but Nicole includes instructions to bring in the sides to give it this shape.

    I did so many things with this bag that I have never done before. I used interfacing and wadding to give my bag structure. I used an extra layer of interfacing to the centre panel of the bag, as it wasn't as heavy as the denim side panels.

    To make my bag a bit more unique, I used my Janome 350e to embroider the side panels of the bag.

    I attached the handles using O-rings and eyelets using this tutorial. Nicole has just done a new video tutorial for eyelets as well.


    I also used this tutorial to insert magnetic clasps. I didn't put my clasp in the recommended place on this bag, I inserted mine beneath the strap that holds the large O-ring on the front of the bag. I decided to do this after I had attached the lining, but before I had stitched it closed. This made the insertion of the clasp quite fiddly. When I make this bag again, I will be inserting the clasp before I insert the lining. Something that I did do that I think was a good idea was I actually added the handle straps last, after everything else was put together. I think they would have gotten in my way otherwise. I still managed to sew something to a strap that I didn't mean to at one point.


    Nicole includes instructions to insert a zippered pocket to the bag, but I actually used this tutorial from U-handblog to insert a zippered pocket. Please excuse my blurry photography, I also made this label for the inside of my bag using this tutorial from Pepperberry. I also added to the other side of the inside of my bag a mobile phone pocket, as well as a simple pocket that can be used perhaps for a notebook?

    It actually fits my Palm Pilot, so Kelly, if you are reading this, and you have one of those, that's where it goes. I didn't use any tutorials to make this pocket, but I kind of copied the pocket from one that I saw inside another purchased bag.

    I used this tutorial to insert a hard base in the bottom of my bag, and I added purse feet to protect the bag base. Nicole Has just done a new video tutorial for purse feet.

    I had lots of fun making this bag, and it was really hard to post it, but I told myself that I can always make one for me some other time.... I really hope Kelly likes it!

    Blogging tips