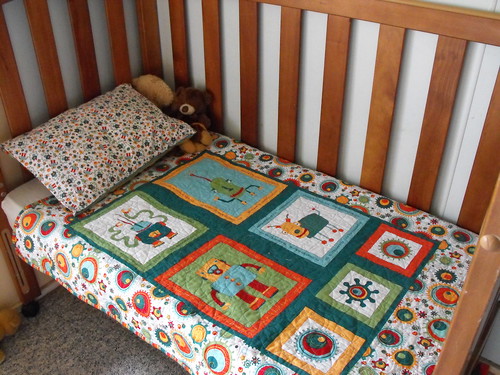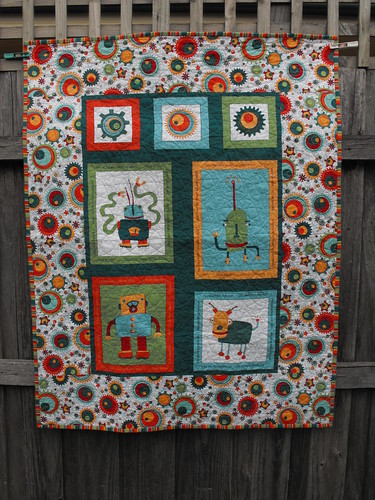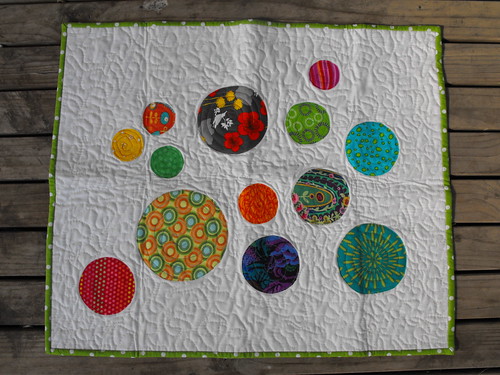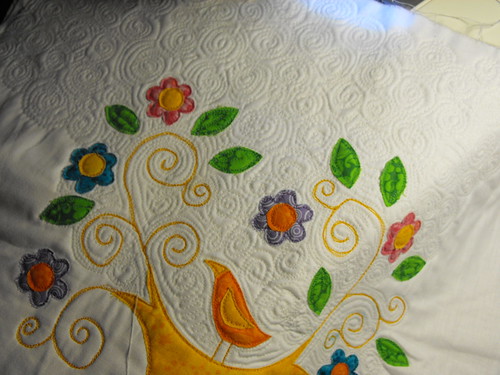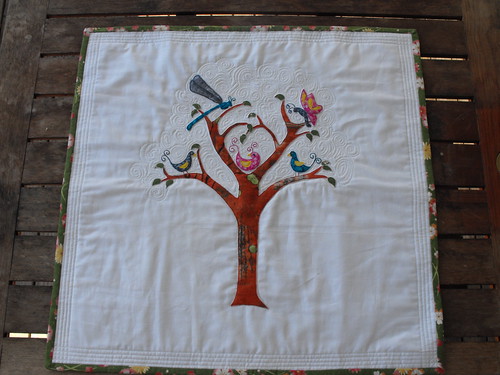
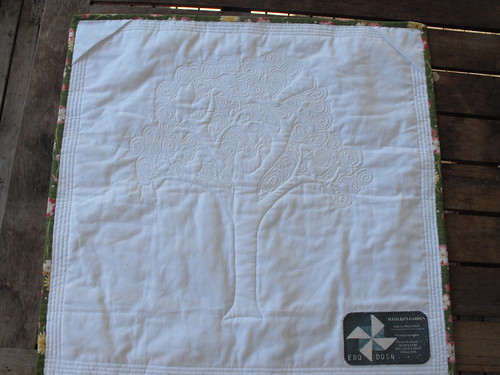
This is the doll-quilt that I sent
Anna for the
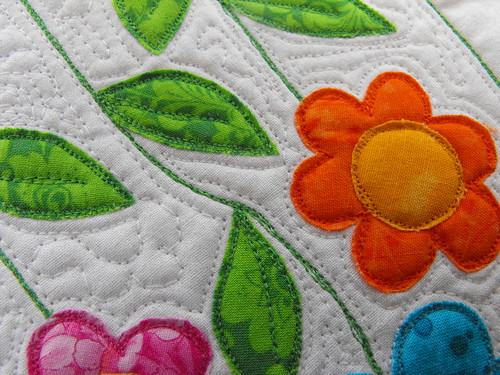
EBDQS#4. I have named it Matilda's garden, as it to be used as a wall-hanging for her daughter's bedroom. I have used some of my Laura Gunn fabric (Vases from the Lantern Bloom collection) for the tree. The leaves are from the same fabric as the binding, which I found at Spotlight.
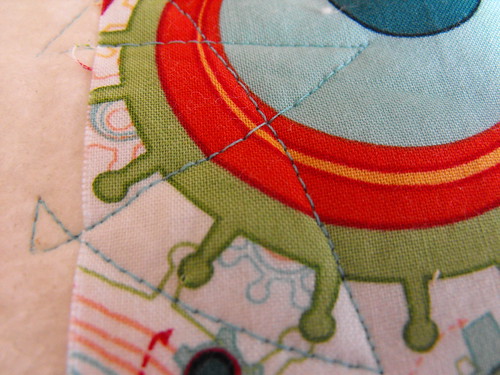
The free motion quilting is based on a spiral technique that I learned at a workshop with
Kellie Wulfsohn. I was busy spiraling away between the branches with the intention to keep going, when I saw that I had given the tree a bit of a ghost effect. I kind of liked the way it looked and stopped where I was. I took it out to mum's and dad's and they liked the way that it looked too. I also got another opinion from
AJ, who agreed that it was a good place to stop. Sometimes creativity is knowing when to stop!
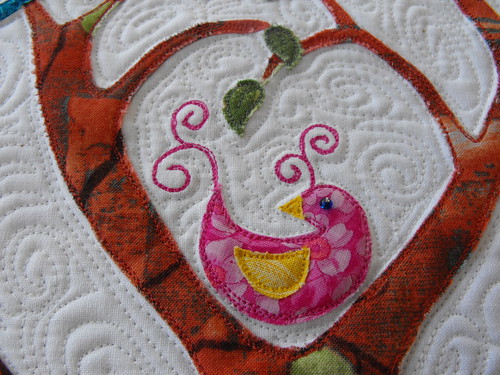
The pink bird at the centre of the tree represents Matilda. I have used a seed bead for her eye. The branches form a heart shape around her.
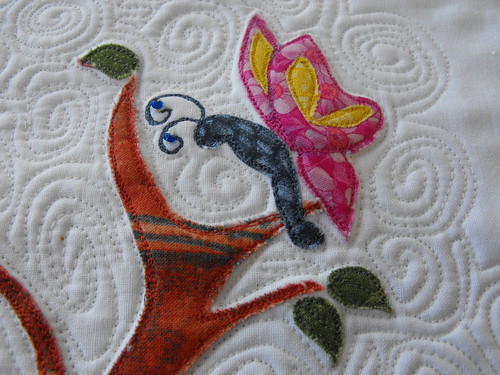
The butterfly represents Anna (my swap partner, and Matilda's mum). I have also used seed beads here to embellish the antennae.
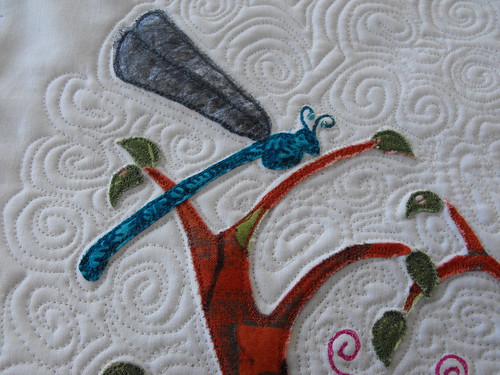
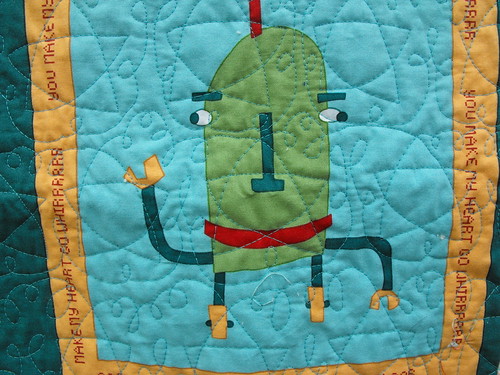
The dragonfly represents Matilda's father. I used some Pellon Rainbowspun for the wings. The Rainbowspun was in the Vilene showbag that I purchased at the Stitches and Craft Show back in May.
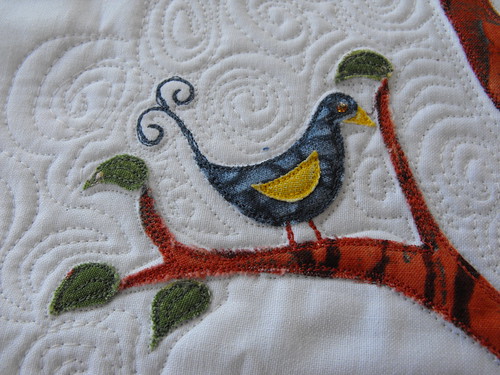
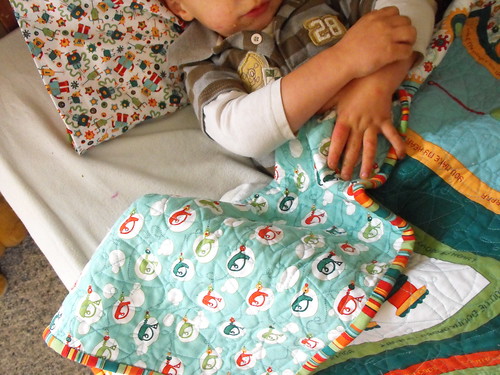
This bird represents Tom, Matilda's older brother.
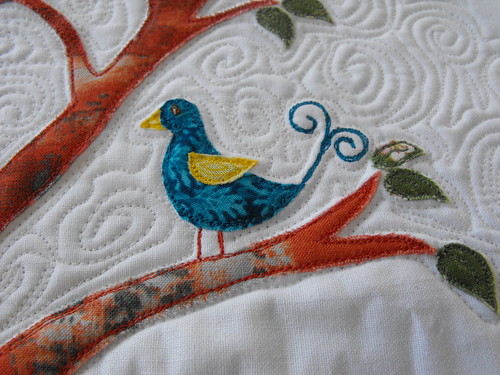
This bird represents Matilda's baby brother, Nate.

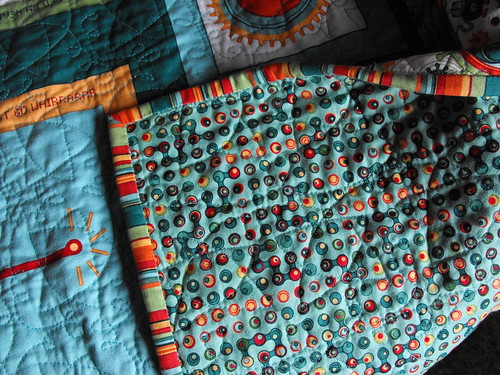
I am pretty happy with the binding. Even though I had some sort of mobius thing going on when I went to join the ends, I managed to work it out in the end. Around the edges of the quilt I have done some straight quilting, using my walking foot. I wasn't sure what to do here, so I asked
AJ for some advice. I think it's a winner.
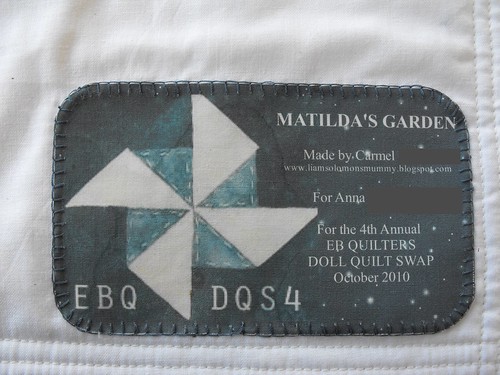
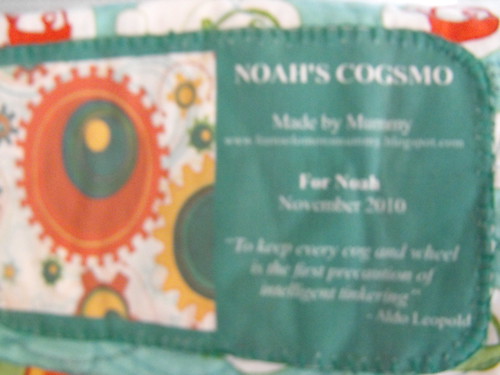
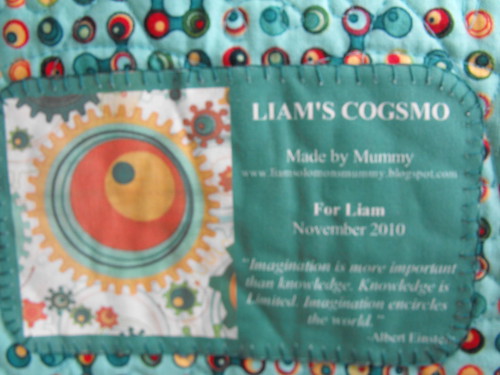
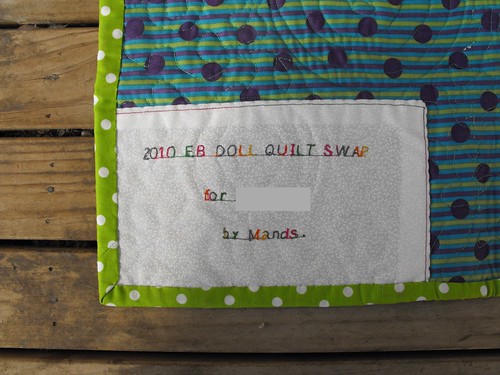
The label. I am much happier with my blanket stitch on this one than on the one I did for the boys' eye spy quilt. I used a slightly different (probably non-conventional) method that seems to work better for me.
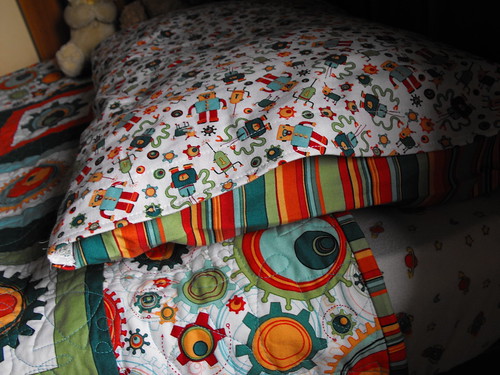
I placed some corners at the top of the quilt to allow it to be hung from a rod on the wall. AJ shows
how to do this on her blog.
I almost forgot to mention, I'm not sure if you can tell by the photos, but I did some Trapunto on the quilt. There is extra padding behind all of my appliqué. I used a technique that I was able to sort of work out from the instructions for Kellie Wulfsohn's monster quilt in the Australian Homespun magazine. If I was designing a quilt again, and I wanted to do trapunto, I would probably avoid some of the tiny gaps I had to get around as trimming away the extra batting was rather tricky - I was so scared I was going to chop a great big hole in my quilt whilst I was doing this!